
Office supply imagery. Product detail meets campaign design.
Develop product listings and print-supply campaigns from hardware photographs, packaging and the product information your team needs to communicate.
Creative work, in context
Keep the product information close to the creative.
A printer-in-use scene, a compatibility graphic and a campaign banner each need a different treatment. Explore their distinct inputs and finishing steps, then inspect the complete editable campaign in its own study.
Product in context
Build the scene around the hardware.
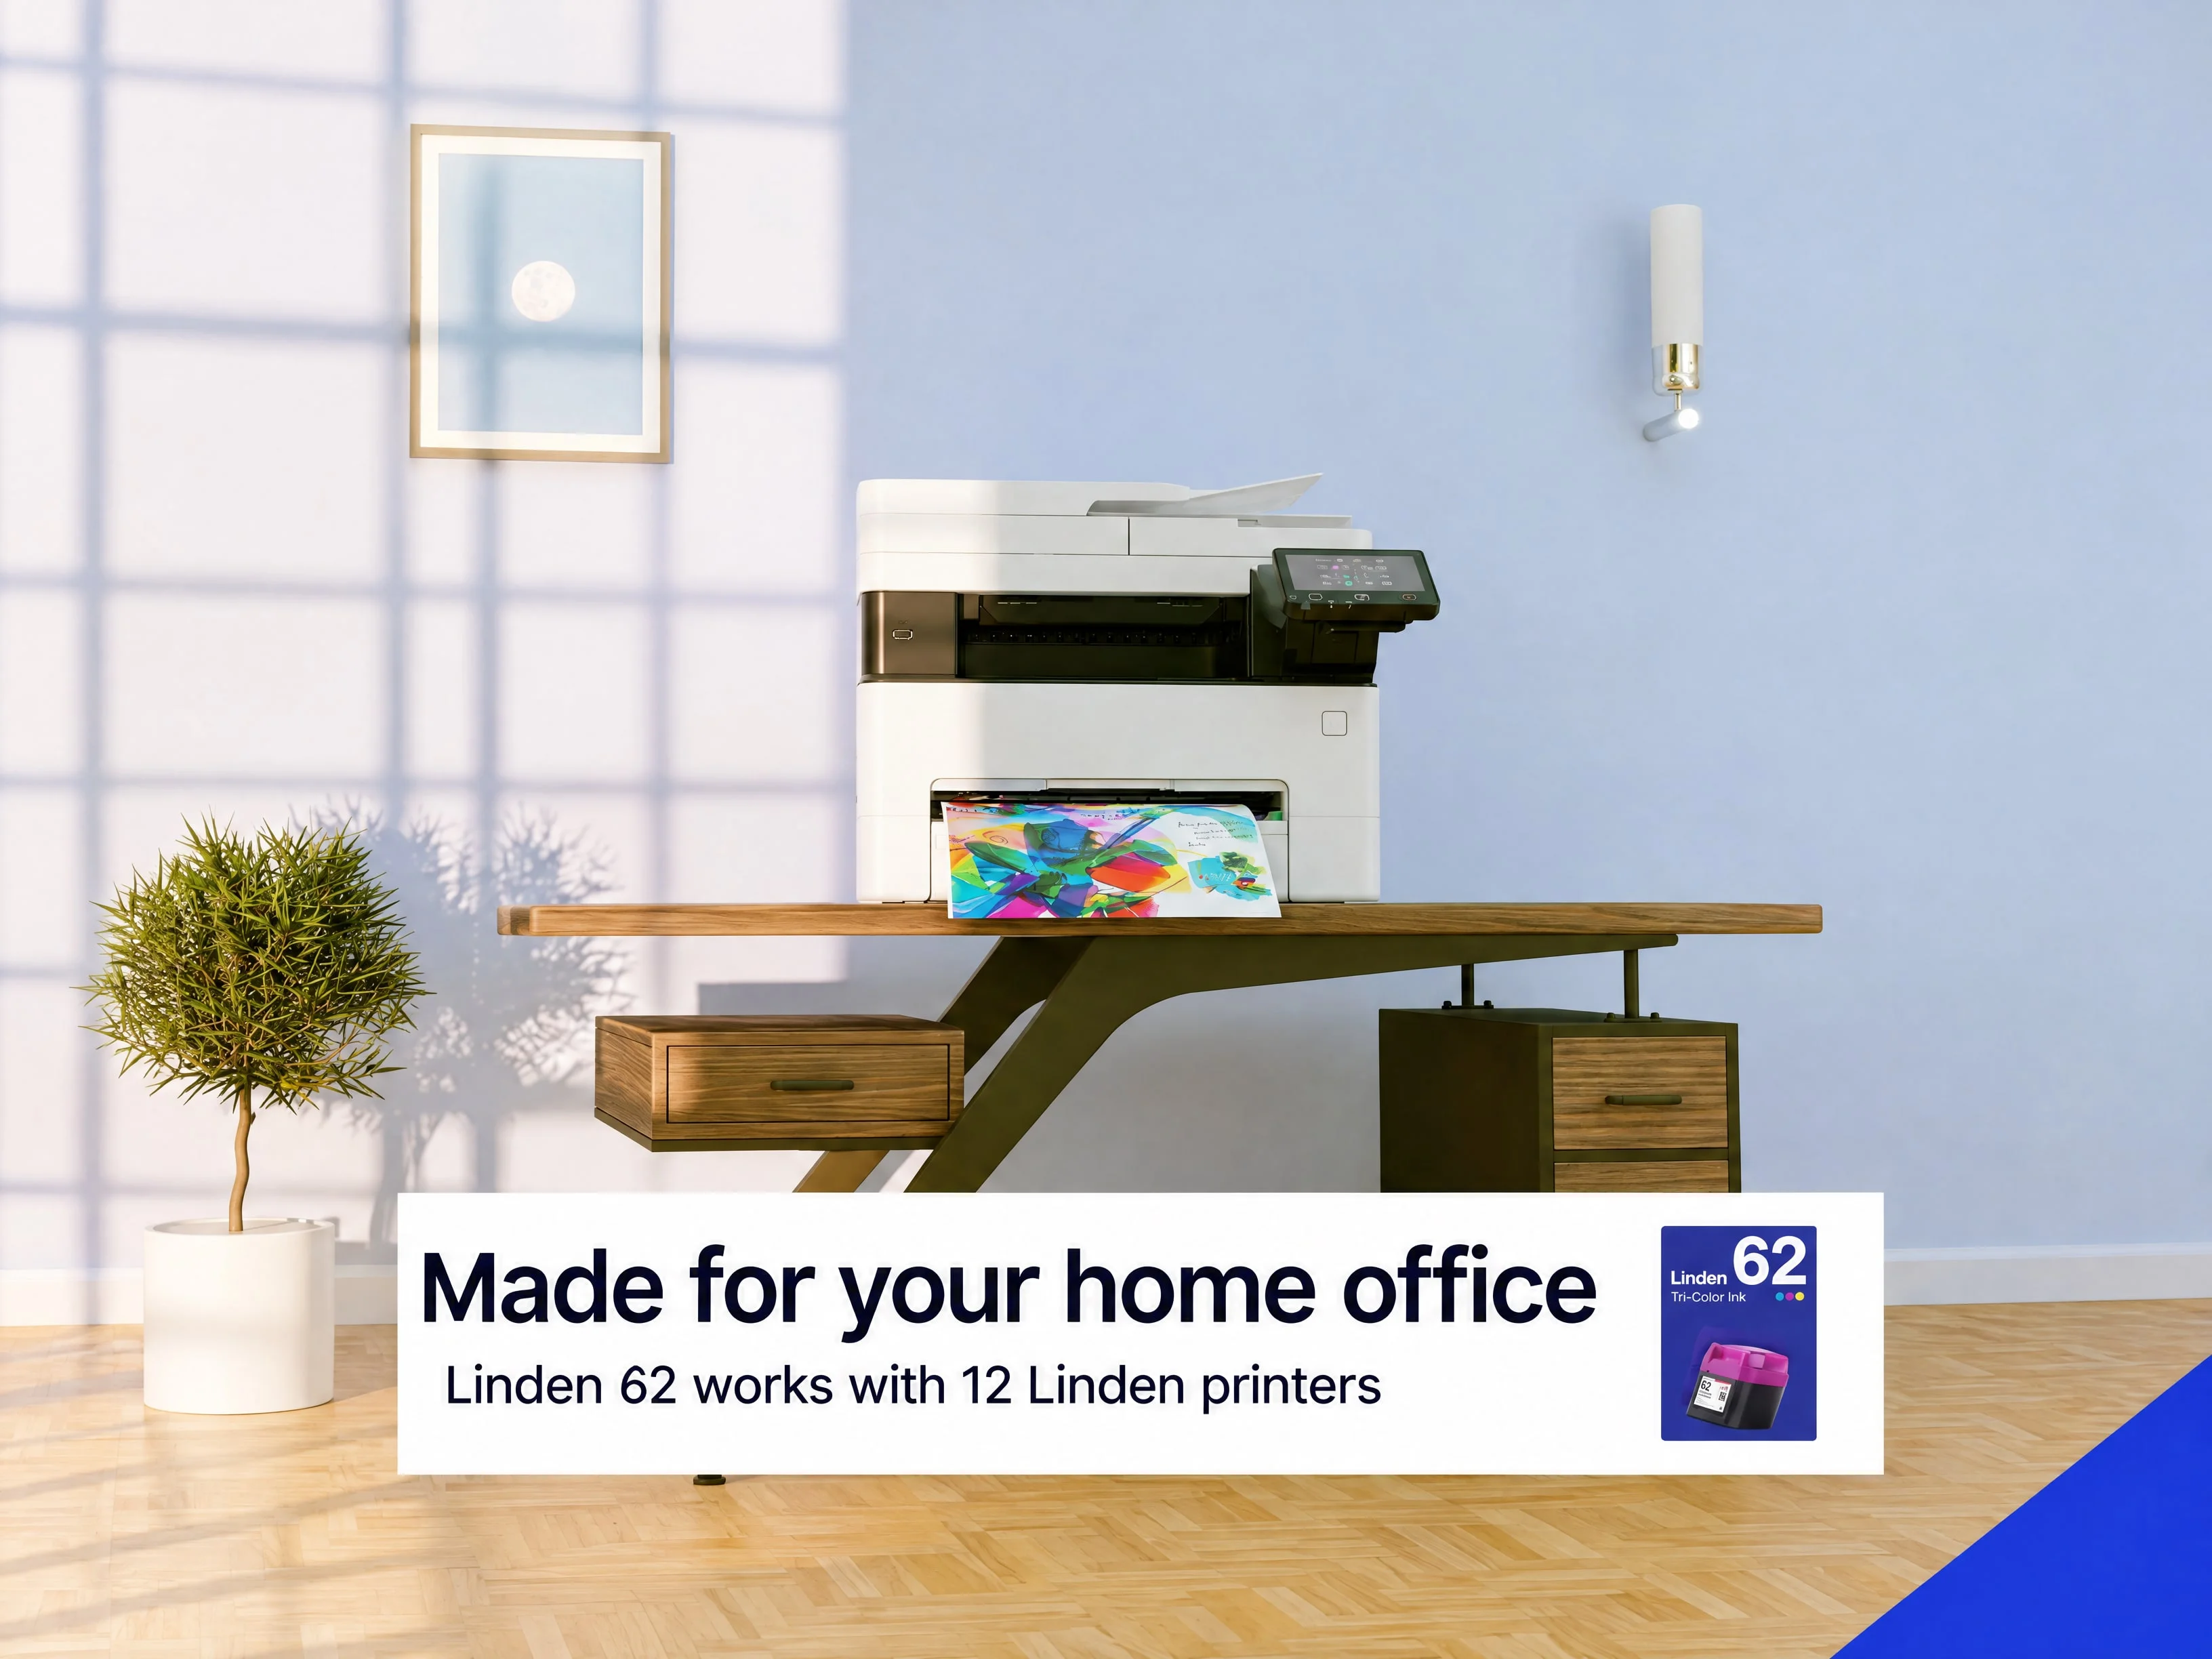
A printer photograph defines the product; a room photograph guides the environment and light. The listing image places the printer on the desk with a fresh page in the tray. Production also included a targeted edit to remove small markings from the printer front.
Explore the complete studyListing information
Give the compatibility story a clear composition.
A supplied printer list, the packaging photograph and the cartridge photograph guide this listing graphic. The selected take was checked against the list line by line. Review final compatibility information against current product records.
Explore the complete studyPackaging & editable layers
Keep approved artwork part of the campaign.
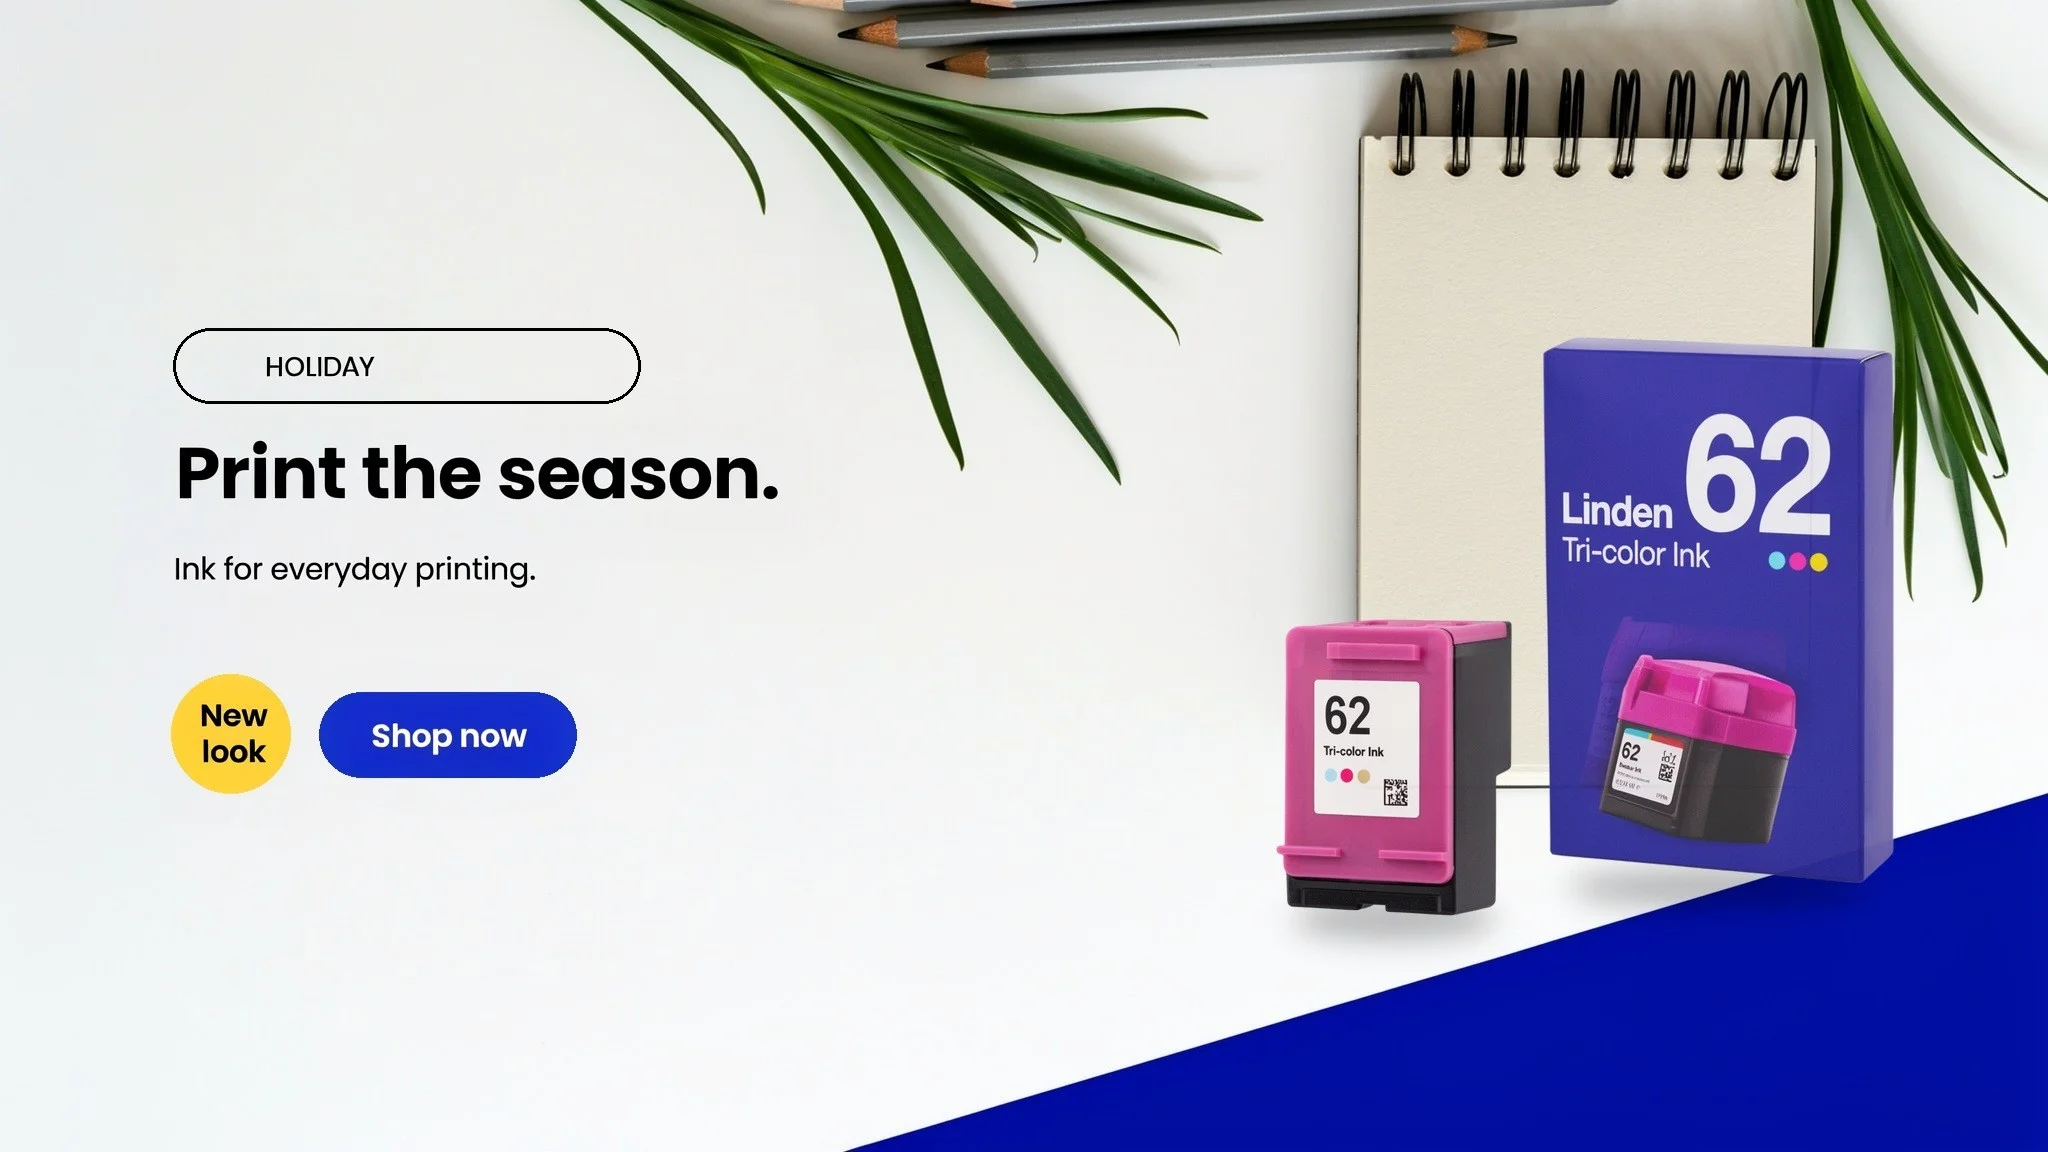
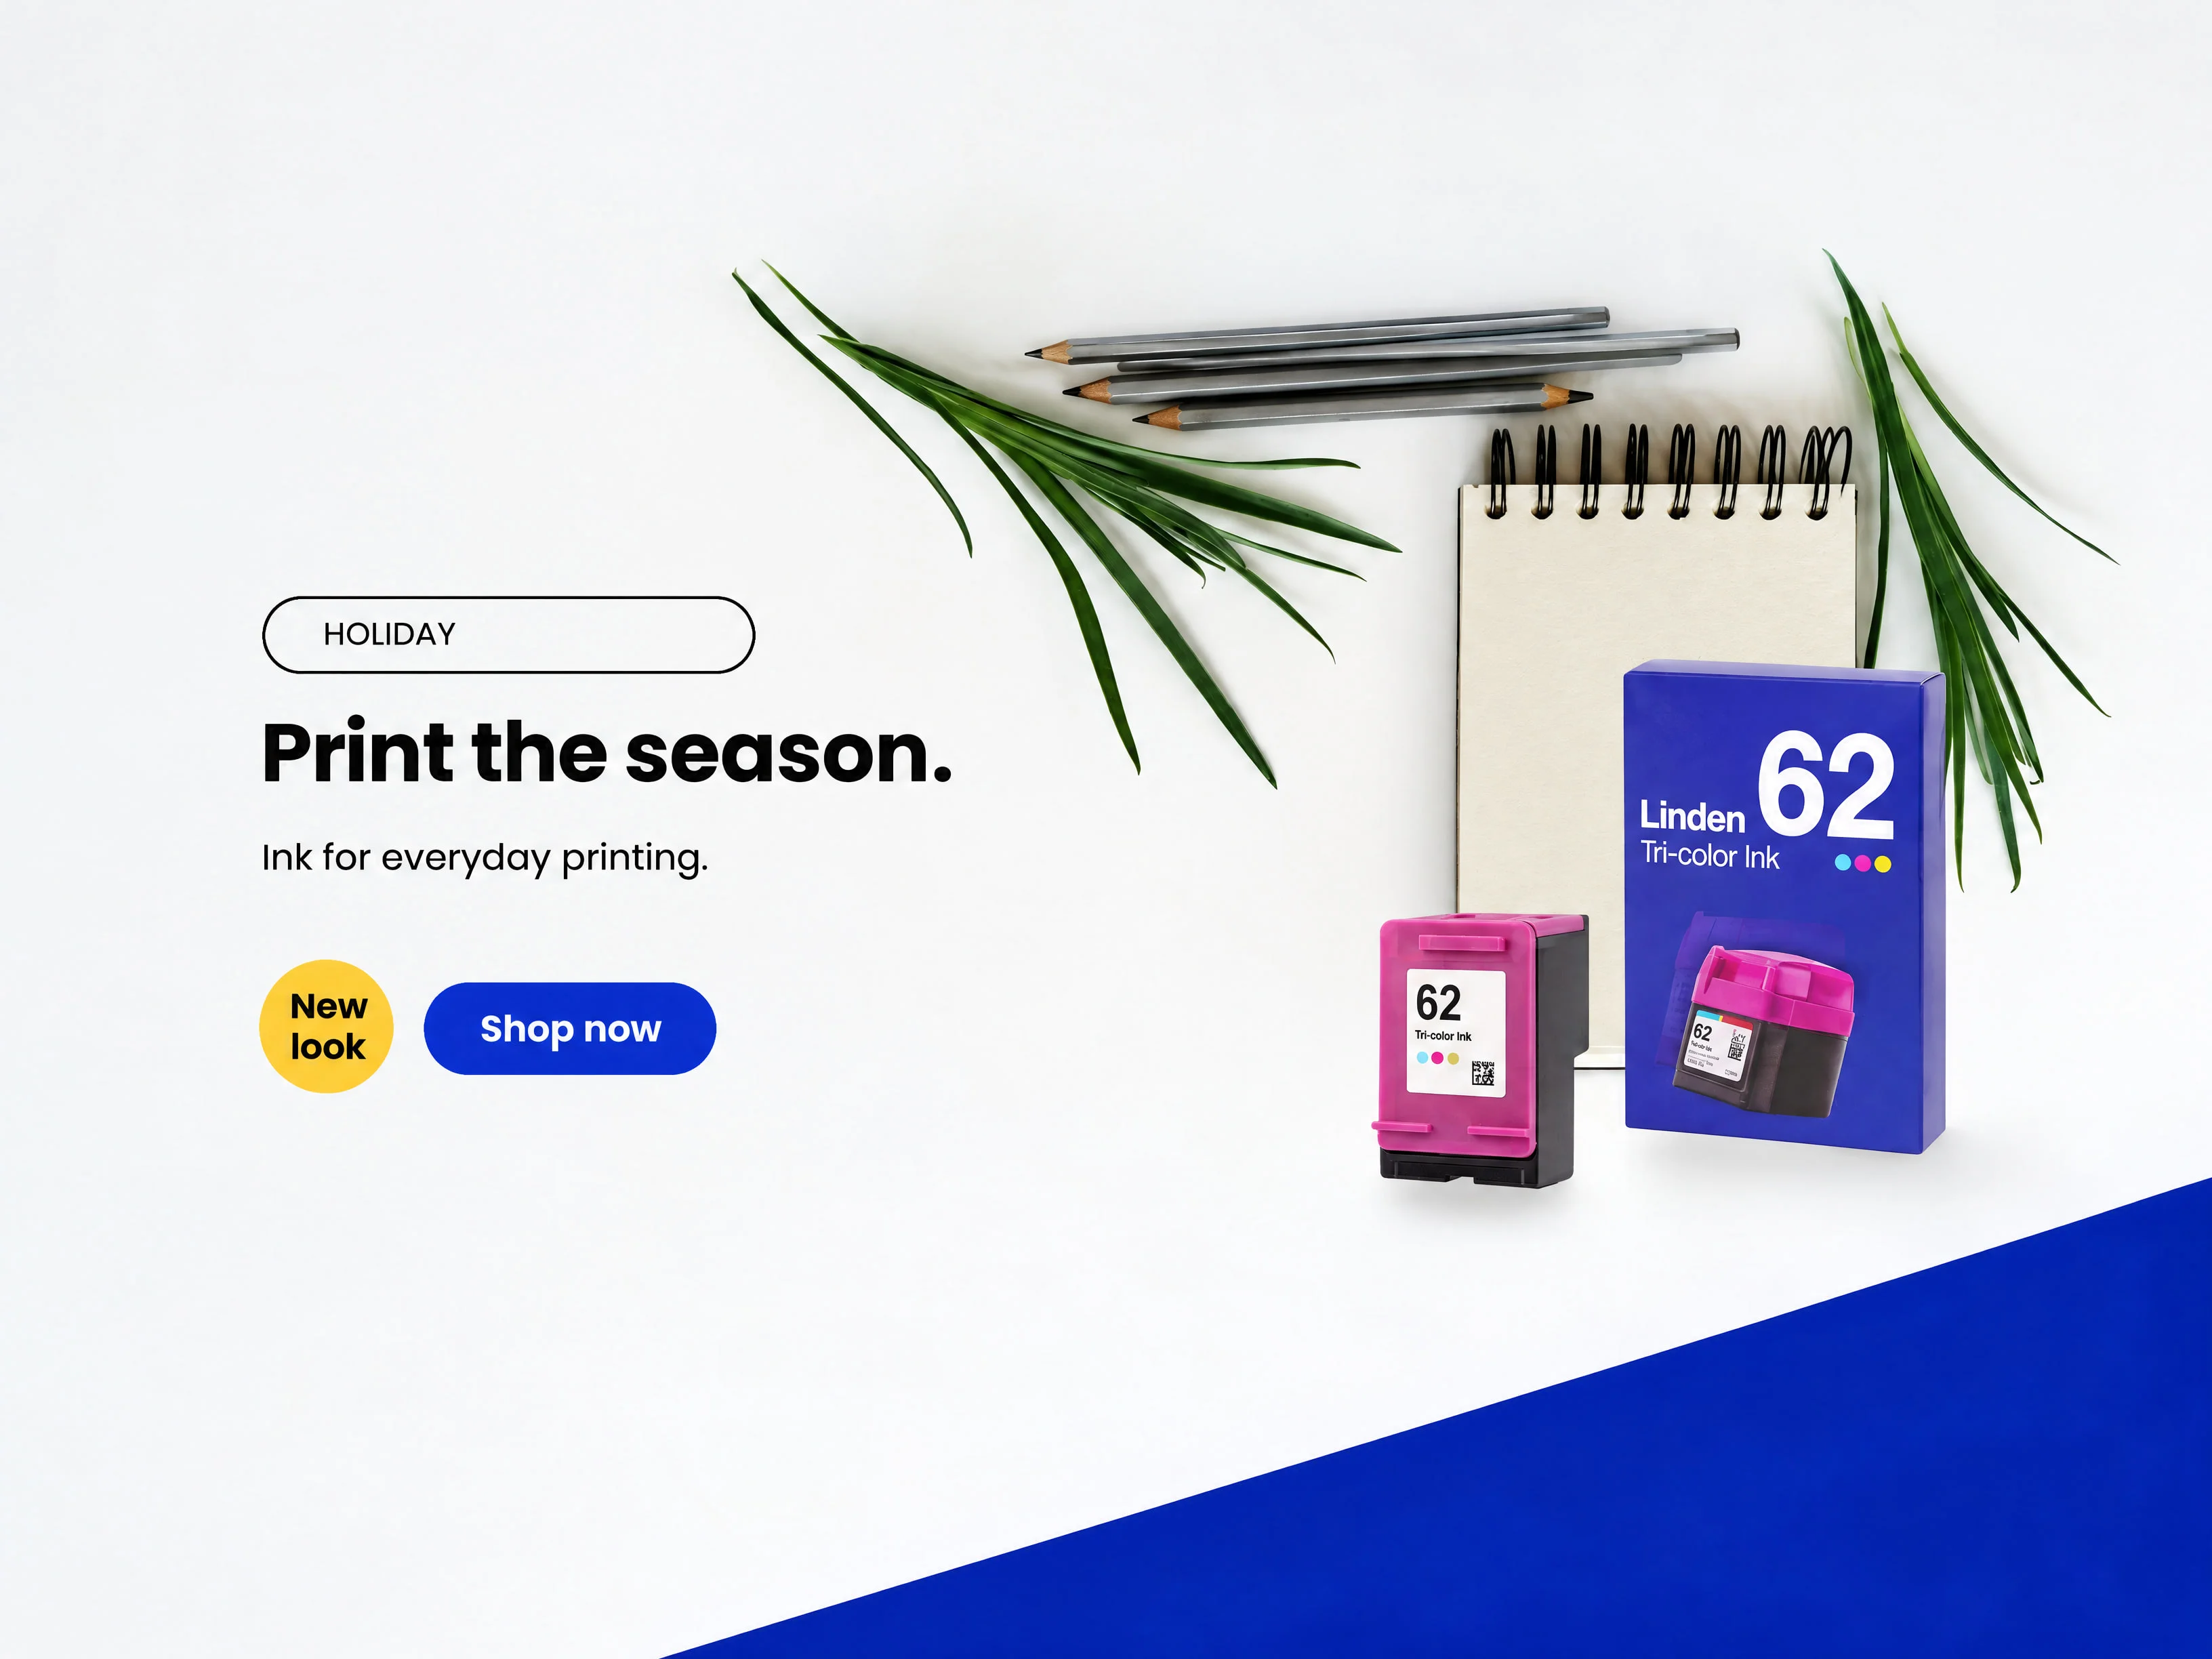
Packshots rendered from the packaging and cartridge photographs keep the package lettering exact. Open the full study’s banner to move the objects, change sample copy and explore English, French and Spanish.
Explore the complete studyCampaign placements
A connected set for different canvases.
Compare square, landscape and wide campaign compositions. The copy, blue diagonal band and product arrangement respond to each format while retaining a shared product-led direction.
Explore the complete studyExplore the versions
Square
Campaign adaptation with its own product and copy arrangement.
Take a closer look
Open the complete studies.
Each one holds the full references, comparisons and interactive examples.
Product-in-use and listing information
Inspect the printer and room references behind the product-in-use scene, then review the compatibility composition with its source list, packaging photograph and cartridge photograph.
Product artwork, editable layers and placements
Review the packaging-led campaign, explore the complete English, French and Spanish layer editor, and compare square, landscape and wide campaign adaptations.
Built around your team
Your creative standard.
A workflow to match.
Every step builds on your imagery, your references and the work your team needs to deliver.
- 01
Bring current product materials
Start with hardware photographs, approved packaging, product artwork and the information your listing must convey.
- 02
Develop and finish the composition
Build the scene or campaign layout, then inspect and restore detailed artwork where the selected treatment needs it.
- 03
Review information and placements
Check package wording, model information, object shape and copy layout against current product records.
Frequently asked questions
How does the campaign retain the package artwork?
The campaign places packshots rendered from the packaging and cartridge photographs onto a prepared background, then sets the copy around them. Small package lettering is checked as part of the finishing workflow.
What can be changed in the banner study?
The full editor retains separate photo, product, badge, outline and text layers. Select and move objects, change sample copy, and explore English, French and Spanish treatments.
More in Retail & Consumer Goods
Explore related industries.

Let's shape what comes next
Make the next product story clear.
Talk with our team about office supply listings, product artwork and editable campaign workflows.