
Apparel imagery. Details in view.
Develop garment colors, product-only presentations and on-model concepts from the photographs and construction details your team already has.
Creative work, in context
Give the garment a clear presentation.
A color change, a product form and a different model view each ask something different of the image. These studies keep the source photography close, from fleece catalogs to jacket panels and denim construction.
Colors & catalogs
Bring another color into the same shoot.
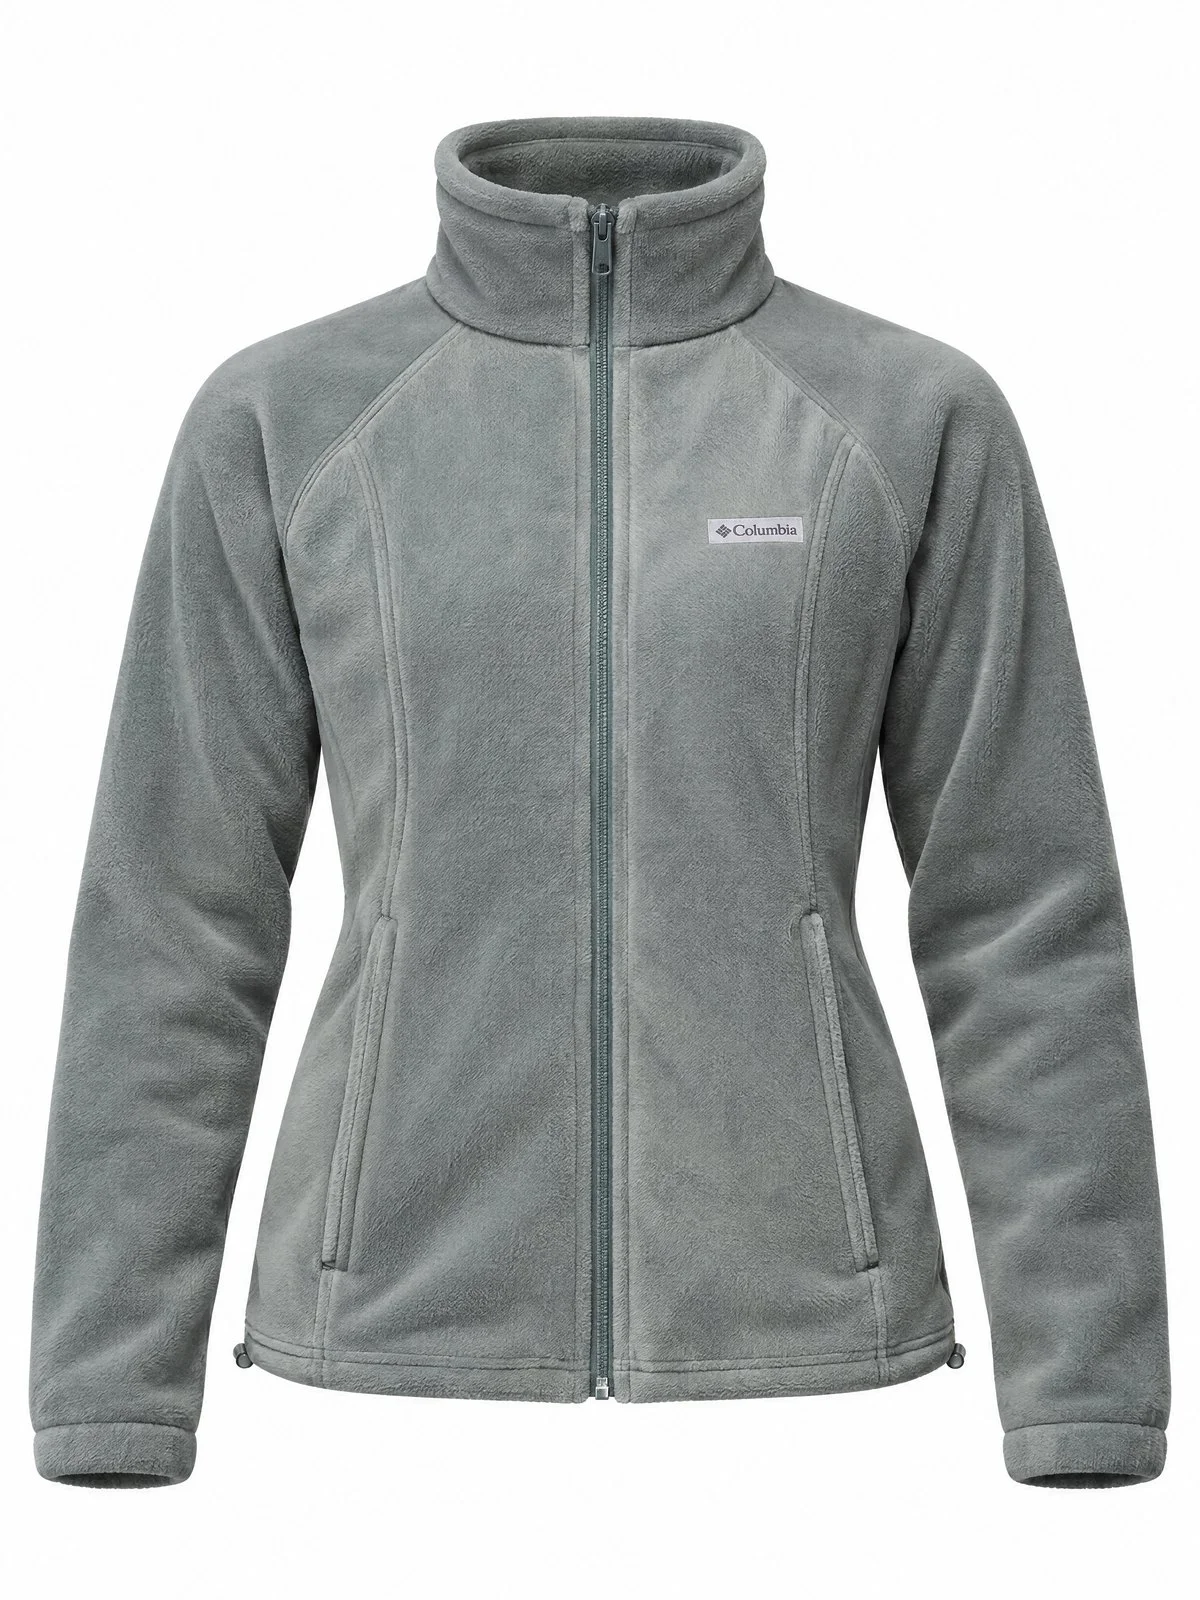
Compare the original fleece photograph with its burgundy adaptation. The complete catalog study includes every supplied model view, face-free crops, patch details, edit maps and twenty product-only colors.
Explore the complete studyExplore the versions
Original photographs
Supplied model photography.
Technical outerwear
Review the body and yoke separately.
A two-tone jacket calls for separate panel decisions. Compare the original photograph with three prepared color treatments, then inspect their edit areas, reference photographs and the wider snowwear set.
Explore the complete studyExplore the versions
Original panels
Supplied model photograph.
Product presentation
From model photograph to garment form.
Follow a graphic tee from its supplied photograph to a product-only form and a fictional-model presentation. This prepared workflow combines generation, editing and finishing across models; the original garment remains the reference.
Explore the complete studyExplore the versions
Original model photographs
Supplied source photographs.
Construction & views
Keep the product details in the frame.
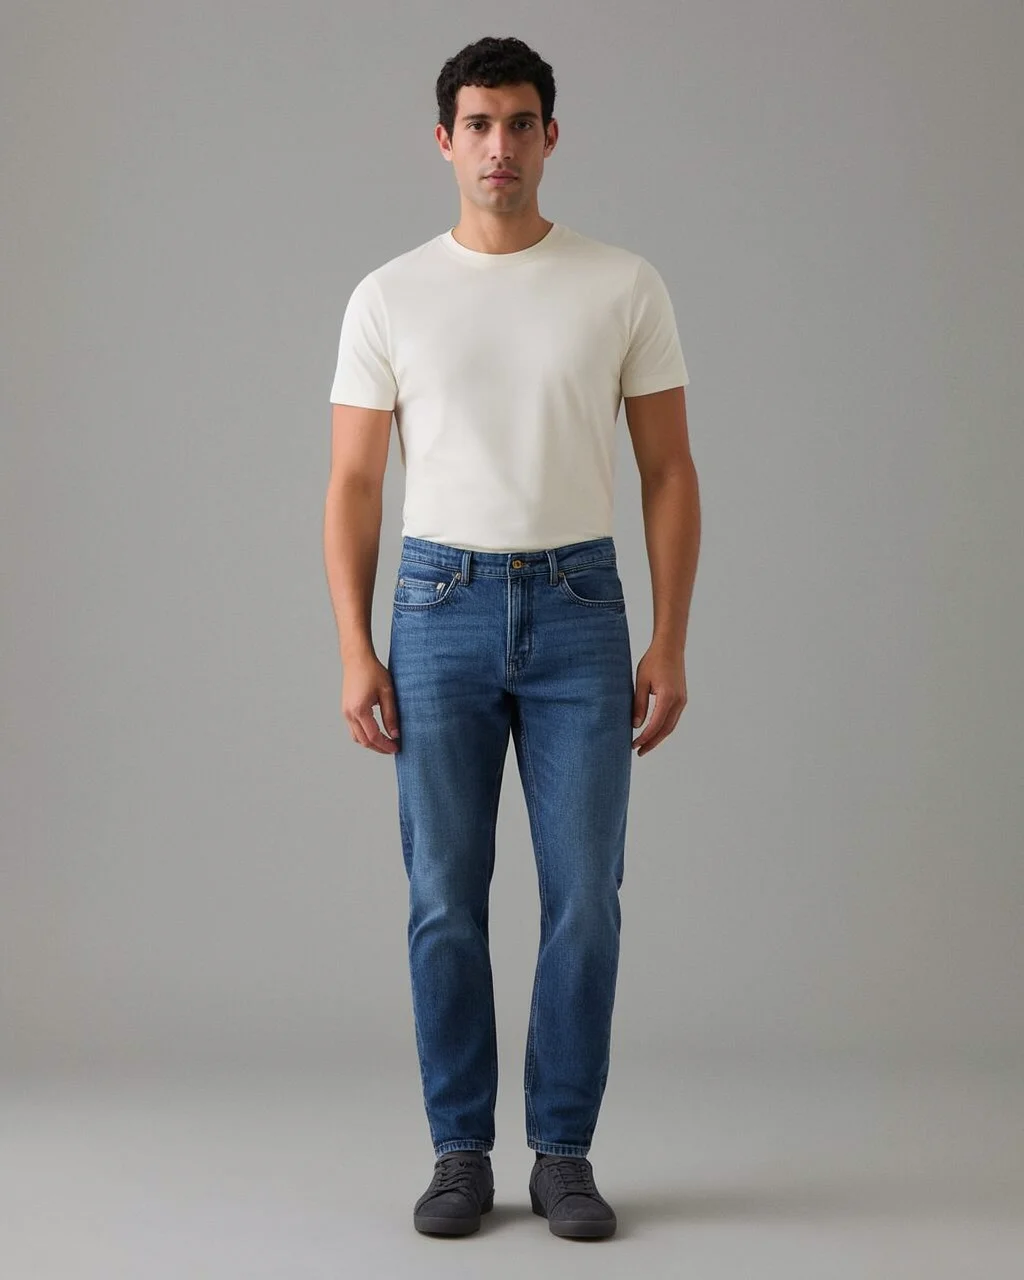
Place a denim product photograph alongside front and rear fictional-model concepts. Use the waistband, pockets, yoke and wash as review points. Explore controlled color, garment and model comparisons in the full study.
Explore the complete studyExplore the versions
Product reference
Supplied front construction photograph.
Take a closer look
Open the complete studies.
Each one holds the full references, comparisons and interactive examples.
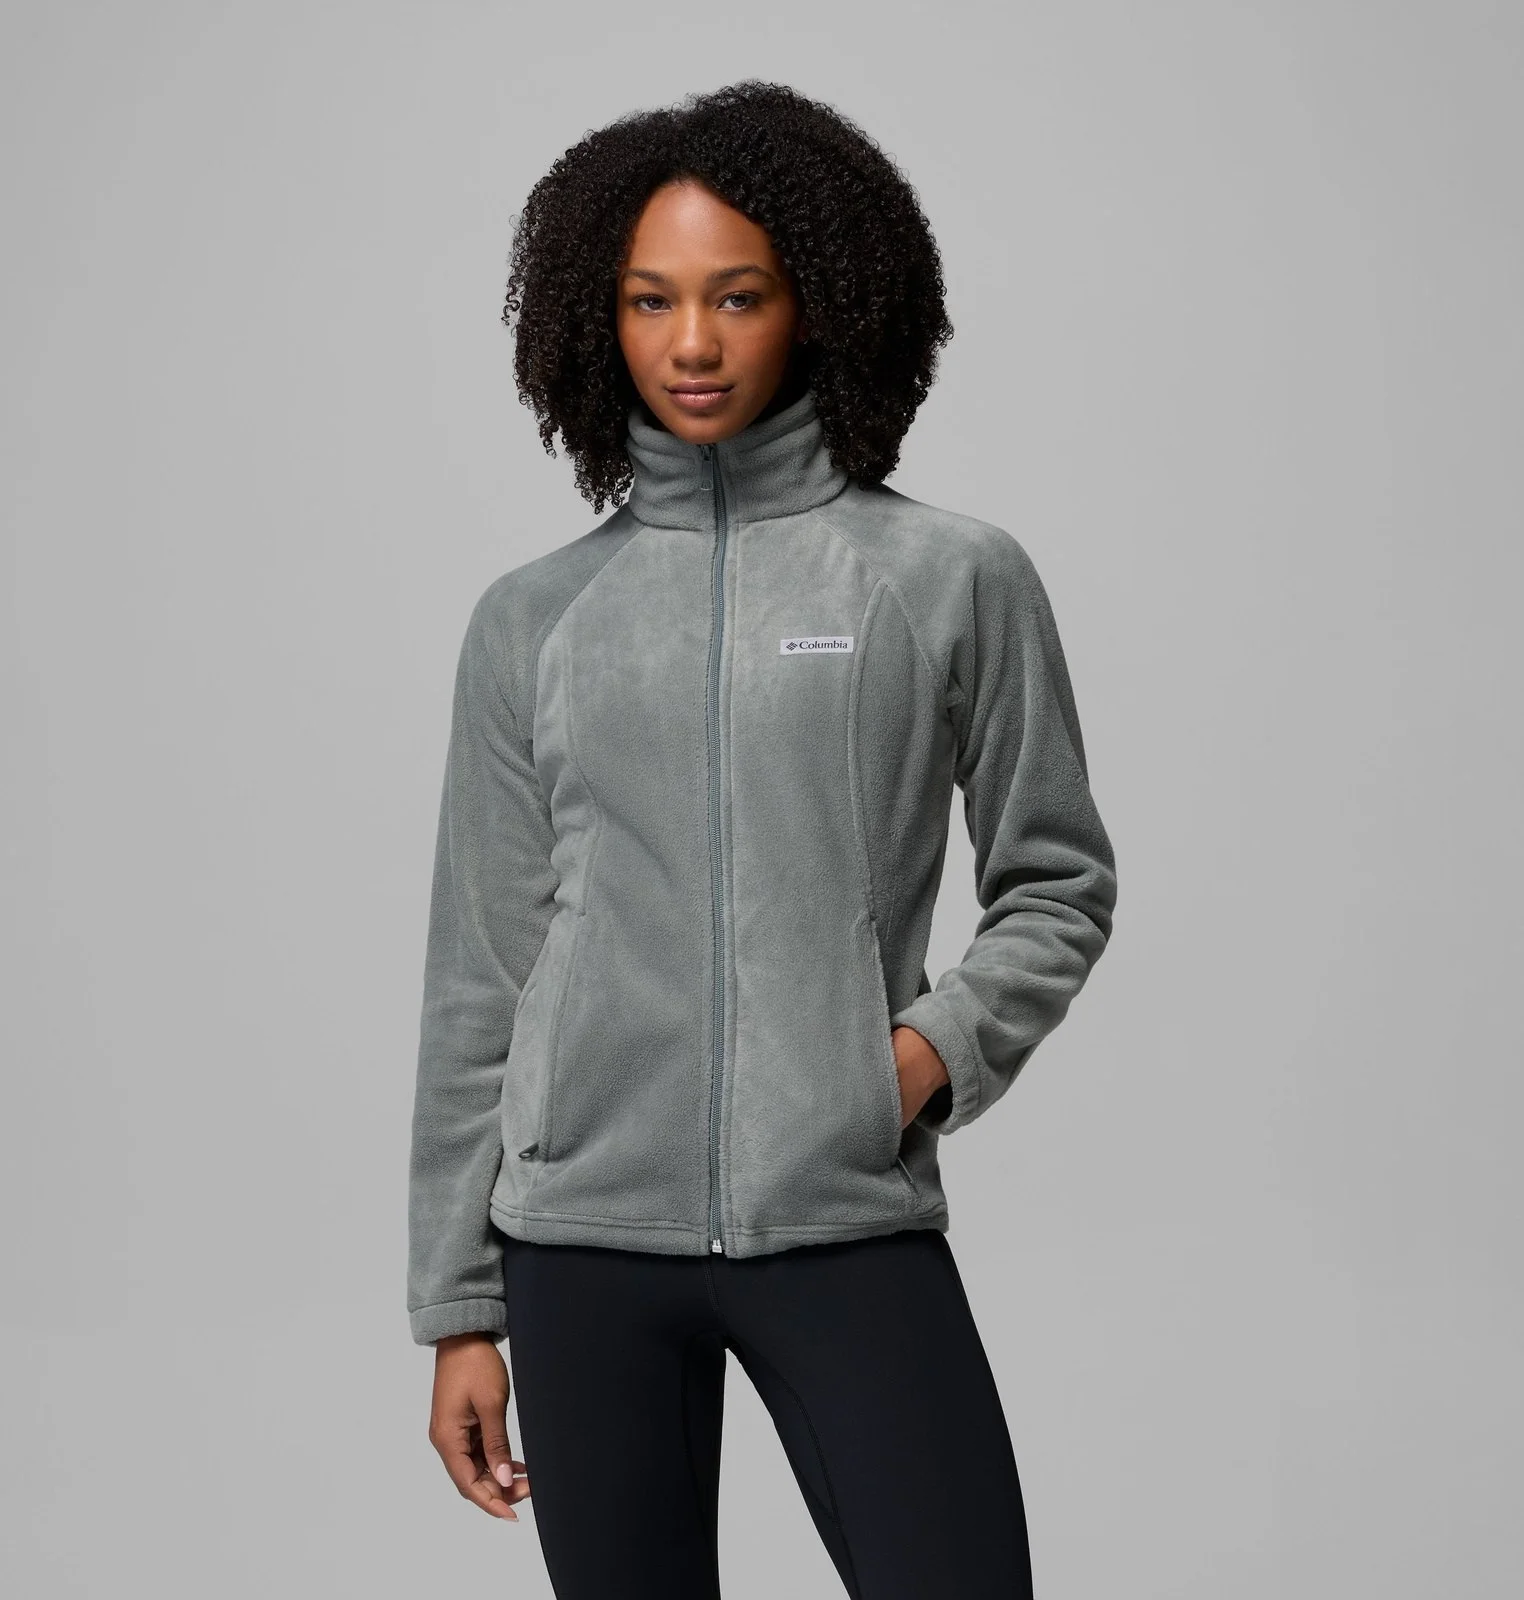
Garment colors and catalogs
Inspect every fleece model set, seven face-free source/result pairs, patch details, diagnostic maps, twenty product-only colors and the complete six-edit sequence.
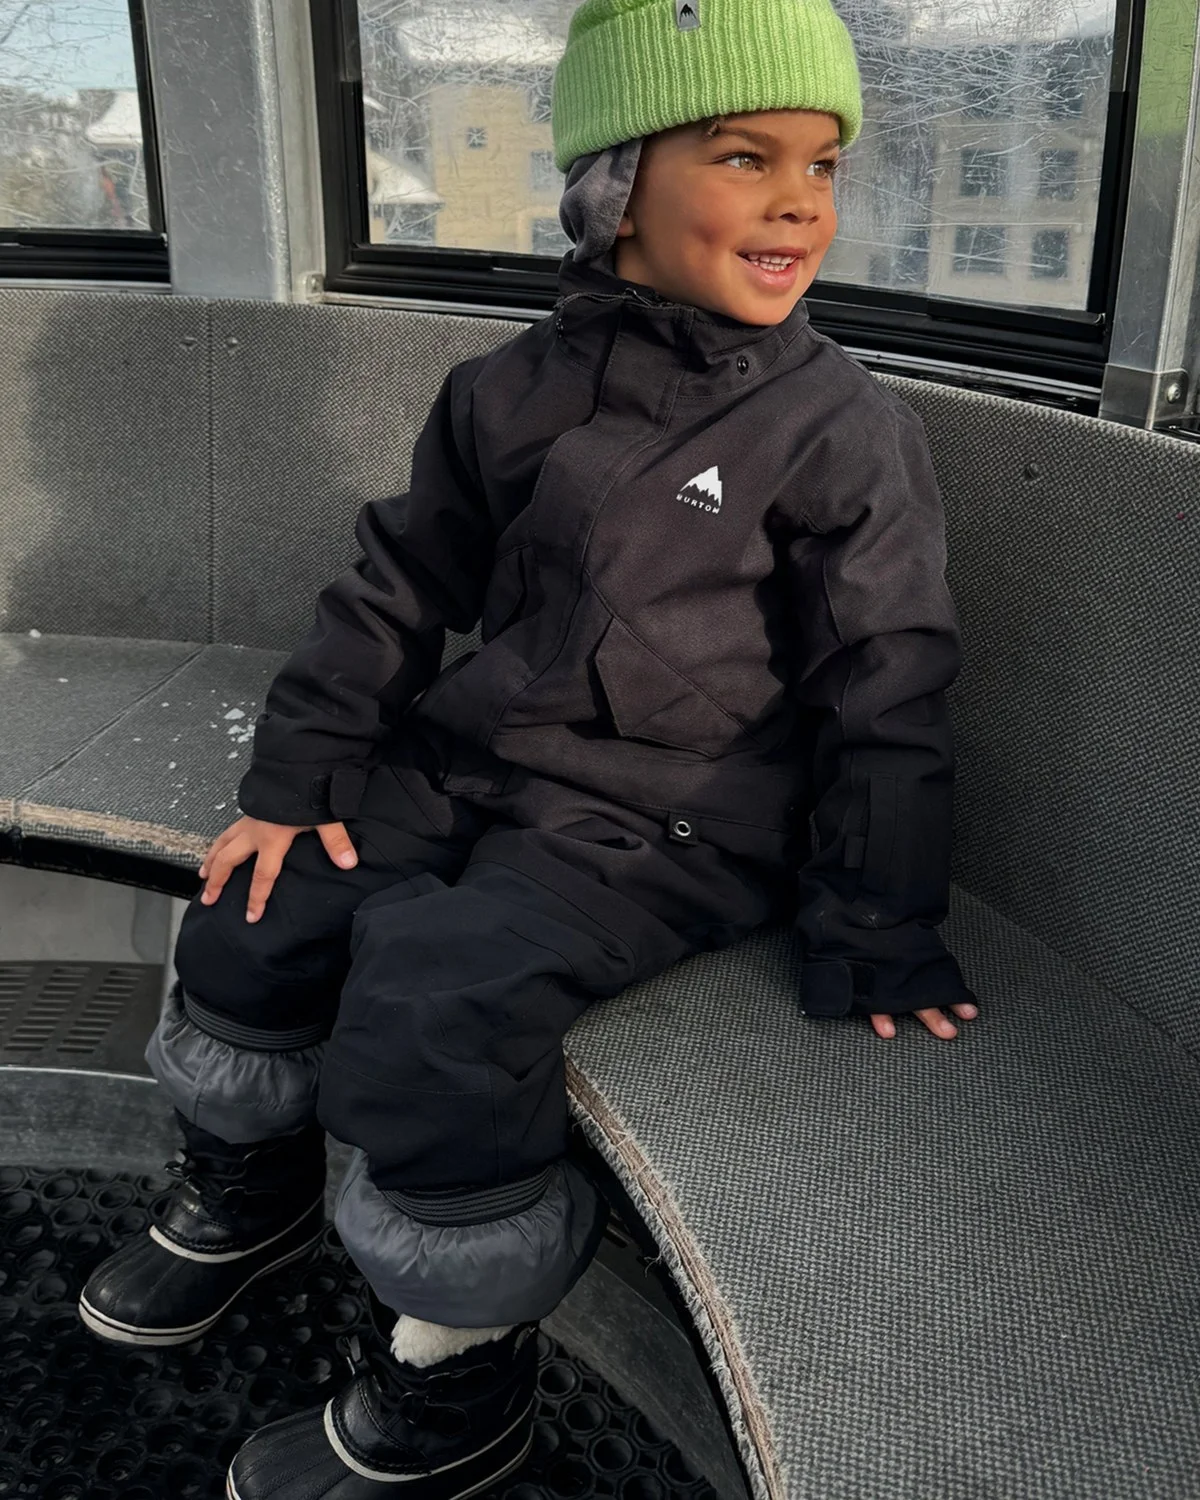
Snowwear and jacket panels
Explore eight children's snowwear colorways, separate jacket-panel edits, three inspection comparisons, snowy scene composites and clearly identified prepared casting concepts.
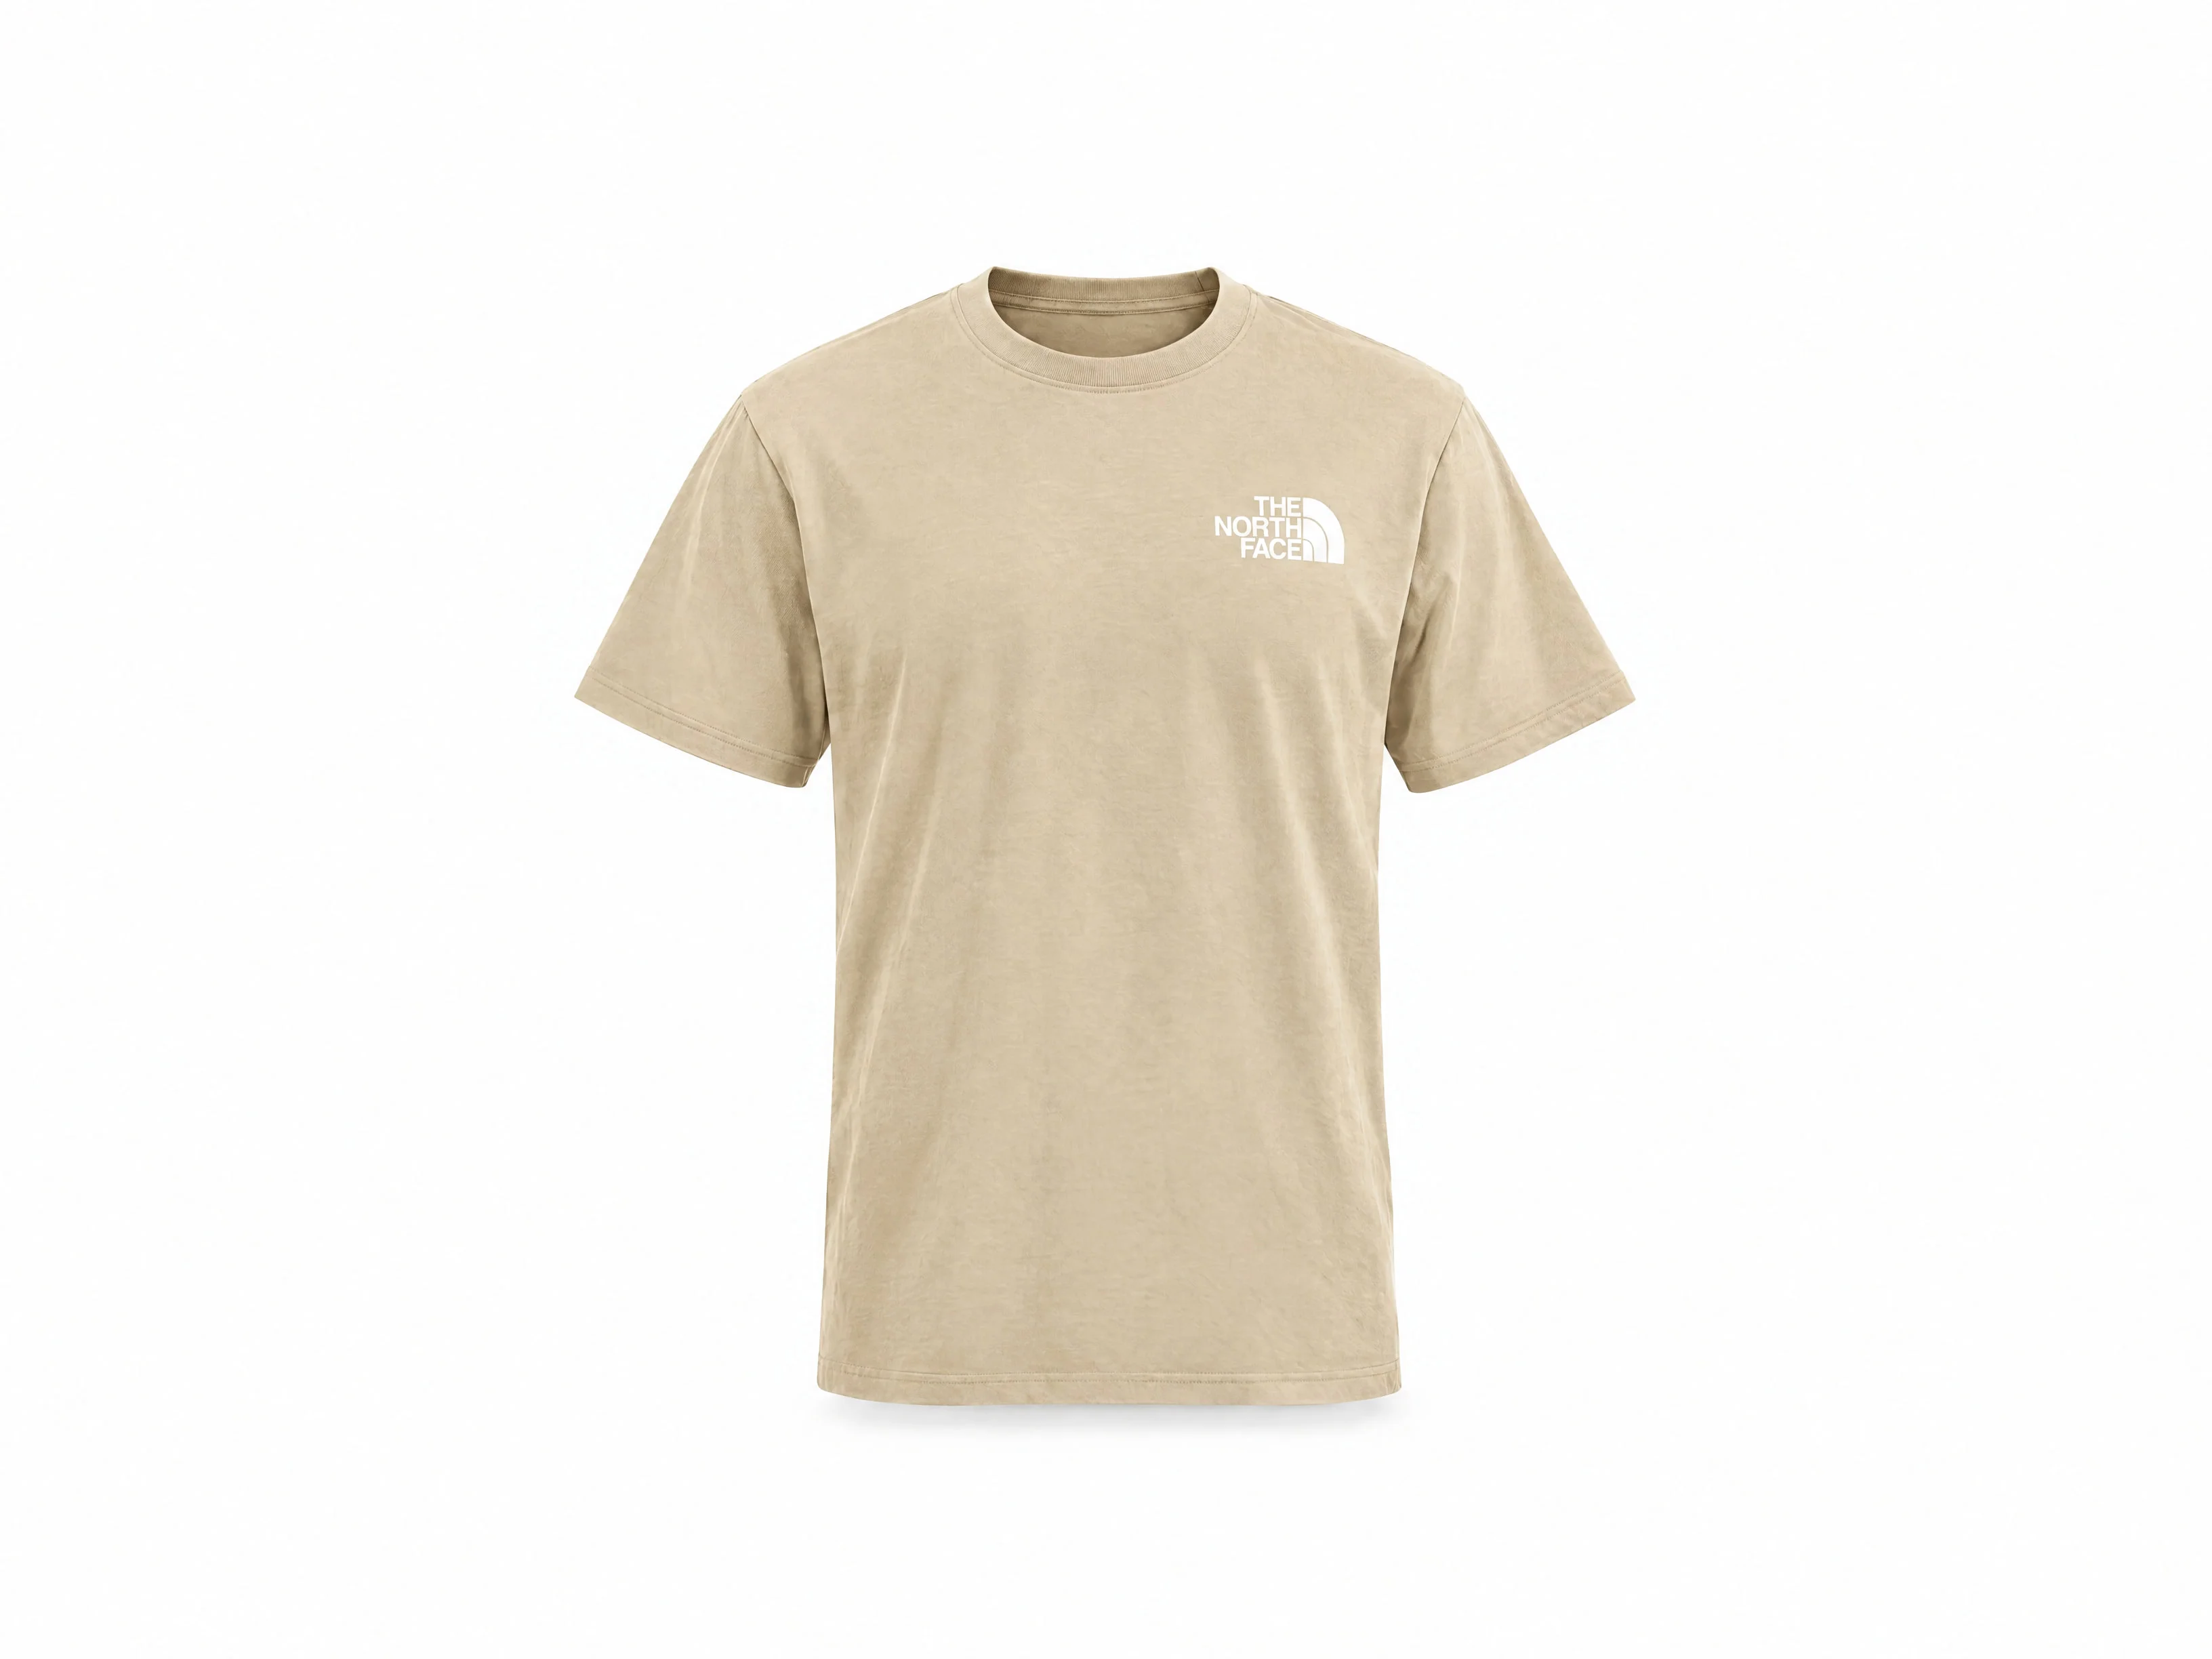
Garment forms and presentation
Follow front and rear tee photographs through product forms and prepared model concepts, then inspect the supplied fleece, knitted-top and trouser presentation references.
Menswear product views
Inspect construction references, front and rear concepts, controlled edits and each earlier/final denim comparison.
Built around your team
Your creative standard.
A workflow to match.
Every step builds on your imagery, your references and the work your team needs to deliver.
- 01
Bring the garment references
Start with front, rear and detail photographs, approved color references and the image types your catalog needs.
- 02
Define the presentation
Explore a color treatment, product form, model view or scene with clear construction details to review.
- 03
Review the range together
Check seams, trims, texture, garment proportions and color across the complete set before final selection.
Frequently asked questions
Which product photographs help guide apparel imagery?
Clear front and back photographs, garment-detail views and approved color or material references give the review a concrete starting point. The studies retain the supplied references alongside each prepared set.
How should teams review color and fabric changes?
Compare each image with the intended color and the original fabric texture, seams, patch and hardware. These examples support visual review; physical swatch approval remains a separate step.
Do model concepts establish sizing or fit?
Fictional-model presentations illustrate a visual direction. They do not establish measured garment fit or size grading. Preparation and additional-model notes remain attached to the relevant studies.
More in Fashion & Accessories
Explore related industries.
Let's shape what comes next
Build the next product image set.
Talk with our team about apparel photography, garment variations and the views your catalog needs.