
How to Turn an Image into an Editable SVG: Workflow and Examples
To turn an image into an editable SVG, upload it to Ideogram’s Vectorizer, choose a detail level, and convert it. You can then recolor the vector shapes and download the SVG.
We followed that process with two images: a colored hotel illustration and a detailed bookshop drawing. The hotel became 62 vector paths. After changing its navy palette to plum, we downloaded the revision and found every path’s geometry unchanged.
You can follow the same workflow with a logo, illustration, or drawing you already have.
Before you start : Start with a clean source
Use your original PNG or JPG. Logos, icons, flat illustrations, and drawings with clear boundaries give you specific shapes to follow through conversion. A photograph with hair, reflections, or foliage needs many more decisions about which details become shapes.
Use the largest clean source you have. Enlarging a blurry screenshot won’t recover missing contours. Crop empty surroundings when they make the artwork unnecessarily small, while leaving room around the outer edges.
For a photographed sketch, straighten the page, crop the desk out, and use even lighting. A dark cast shadow can become part of the artwork; a faint pencil mark may be hard to distinguish from the paper. Increase contrast enough to clarify important lines without erasing lighter details you want to keep.
Our two sources were AI-generated PNGs, each 2048 × 2048 pixels. We made them with Ideogram 4.5 at High quality, square format, one output, no references, and Magic Prompt off.
Workflow : Convert your image in Ideogram
Step 1 : Open Vectorizer and add your source
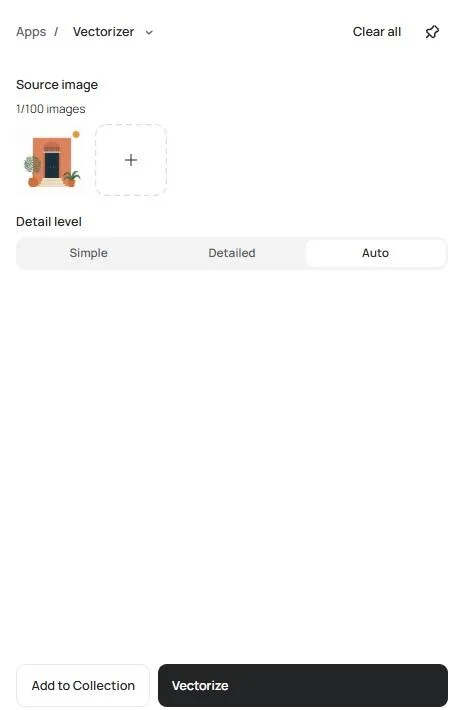
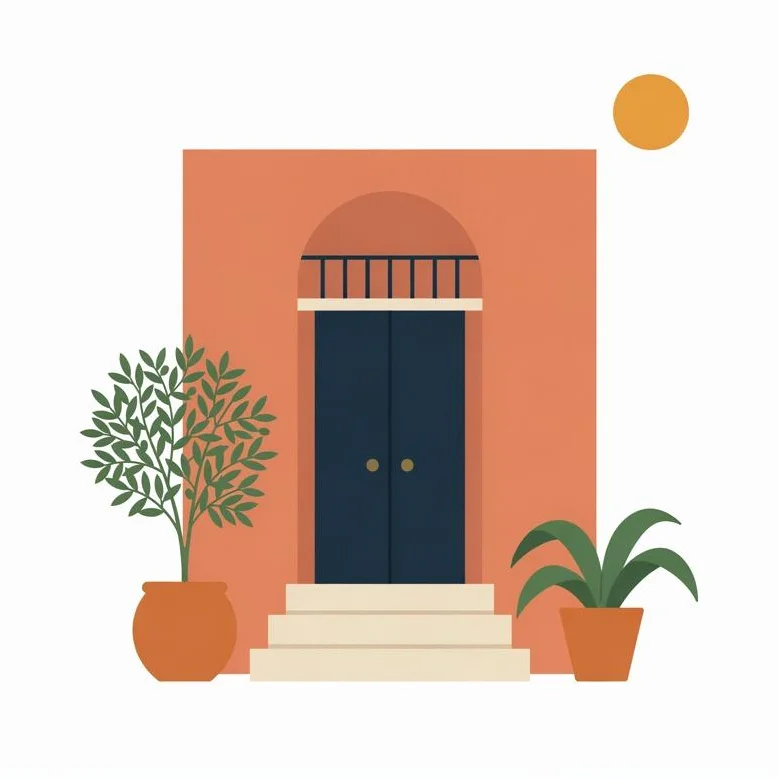
Open Apps → Vectorizer and add your image to the source-image area. The source selector accepts up to 100 images together, so you can load a set at once. For our first example, we uploaded a PNG of a terracotta hotel entrance with a navy door, cream steps, and plants on either side.
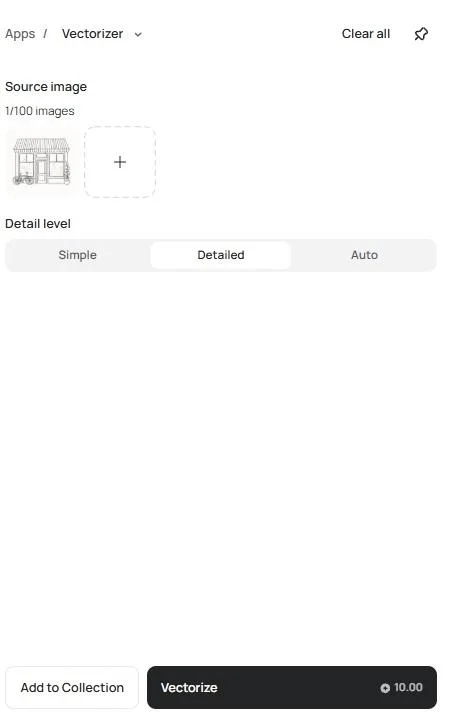
If your image is already in Ideogram, use the shortcut we followed for the bookshop: click the arrow beside Edit, then choose Vectorizer. That opens the conversion app with the selected image as its source.
Choose Vectorizer for artwork you want to convert. Generate Vector creates new artwork from a prompt instead.
Step 2 : Choose the detail level
Vectorizer offers Simple, Detailed, and Auto detail settings. Simple uses fewer shapes, Detailed keeps fine detail, and Auto picks a level for the image.
Start with Auto when you’re unsure. Try Detailed when narrow gaps or fine marks matter, or Simple when you want fewer shapes.
We used Auto for the hotel and Detailed for the bookshop drawing.
The bookshop conversion showed 10 credits with either Auto or Detailed selected, so choosing Detailed added no cost for this image.
Step 3 : Click Vectorize and review the artwork
Click Vectorize. Open the completed result and compare the features that matter to your design.
For the hotel, we looked at the olive leaves, balcony railings, door handles, and three steps. The converted version kept those features recognizable while turning subtle tonal variation into smoother fills. Review it at two sizes: a full view shows whether the composition still works, and a close-up shows whether a thin branch, opening, or narrow space has changed.
Original PNG
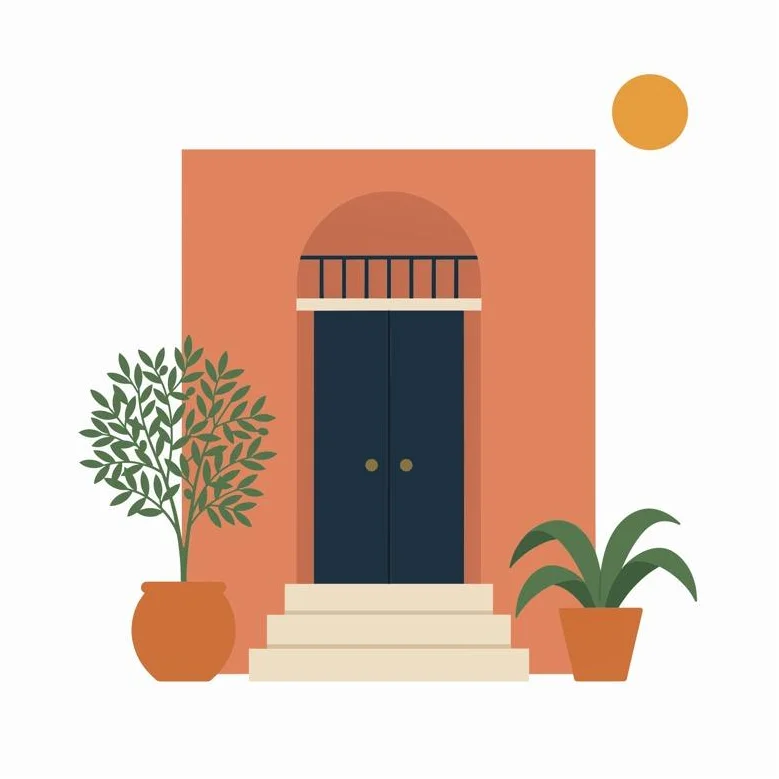
Converted SVG: Auto
Step 4 : Adjust a color using the result’s palette
Open a color swatch beneath the converted artwork. In the picker, enter the hex value you want, press Enter, and click outside the picker to review the result.
For our hotel, the navy swatch showed #1E3140. We replaced it with #6B3F5B, a muted plum. The door and balcony railings changed together.
When you’re matching a brand palette, review every area using the selected color, not just the object you had in mind. In our downloaded revision, two paths changed to the exact plum value. Two related darker fills also shifted, maintaining tonal differences within the artwork.
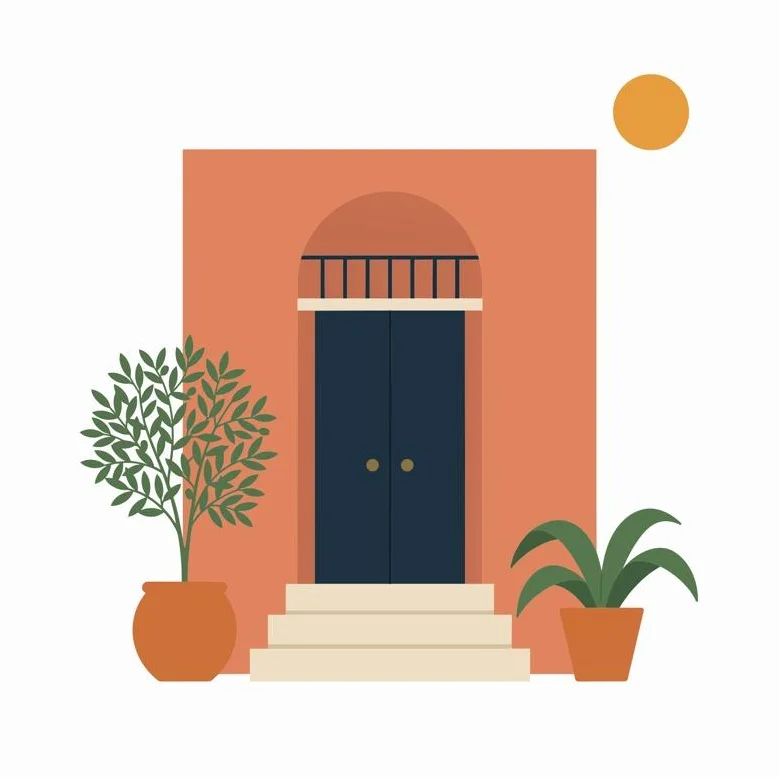
Before: #1E3140
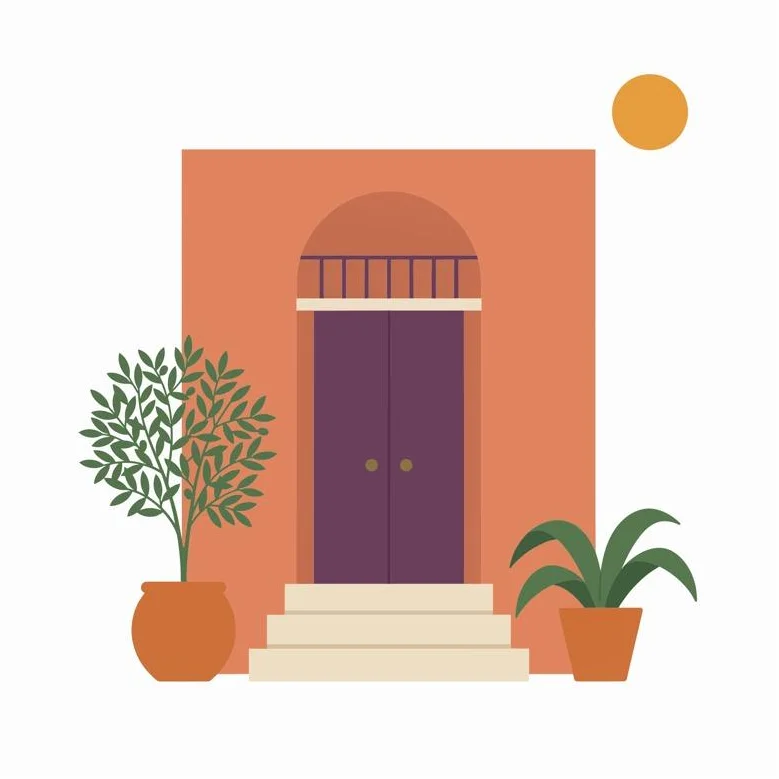
After: #6B3F5B
Step 5 : Save the revision and download the SVG
Click Save after your color revision, then Download. Download saves the SVG straight away.
The result menu also offers Copy as → Copy as SVG and Copy as PNG. Those options copy to the clipboard. Use Download when you want the SVG file for storage or handoff.
Keep the original PNG, the first SVG, and the edited SVG under different filenames, for example:
- hotel-source.png
- hotel-vector-original.svg
- hotel-vector-plum.svg
That leaves you with an untouched conversion if you need to revisit the palette later.
After conversion : What makes the downloaded SVG editable?
An editable SVG contains vector objects whose colors or geometry can be changed. Renaming artwork.png to artwork.svg doesn’t create those objects.
An SVG can also contain a raster image: an image element can display PNG or JPEG content inside the SVG document. A file that opens successfully and looks sharp at a small size still needs a closer look.
We examined the downloaded files as well as their rendered appearance:
| File check | Hotel, Auto | Bookshop, Detailed |
|---|---|---|
| Vector paths | 62 | 315 |
| Embedded raster images | 0 | 0 |
| Gradient definitions | 15 | 5 |
| Live text elements | 0 | 0 |
Both files contained actual paths. The hotel revision kept all 62 path definitions identical while changing four path fills.
The Vectorizer’s SVG exports use gradient fills alongside solid colors to represent tonal variation. Our hotel SVG included 12 linear and three radial gradient definitions; the bookshop included two linear and three radial definitions.
You don’t need to read SVG code to follow the conversion steps. For a visual geometry check, an SVG-capable vector editor can show shapes and nodes. A browser preview shows appearance; it won’t tell you how conveniently the objects are organized for editing.
Paths, groups, and live text: A path can contain several connected or disconnected regions. A group lets you move related objects together. Live text lets you retype wording. Converting visible lettering into outlines gives you letter shapes, not the original font or a text field.
To change wording before converting, use editable text layers in Studio, then convert the revised image.
After conversion : Example: turning a detailed drawing into vectors
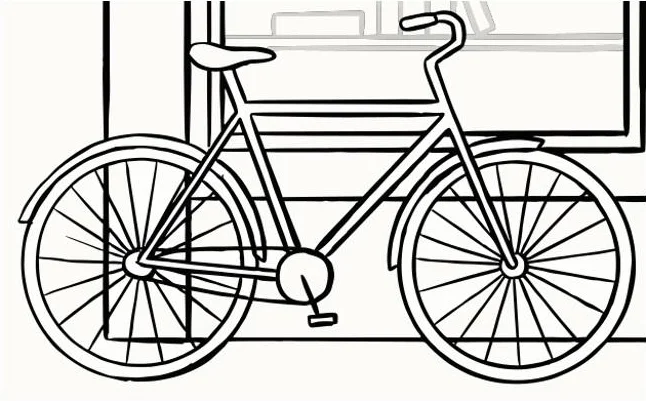
Our second source was an AI-generated bookshop drawing with a bicycle, books behind the windows, a striped canopy above the entrance, and a climbing plant. Its narrow spokes and pale window details gave us fine lines to follow through conversion.
We chose Detailed, converted it, and downloaded the SVG.
At matching close-ups, the bicycle spokes remained visible, the faint book outlines remained distinguishable (though easy to miss in a full view), and the canopy kept its stripes and curved lower edge. The converted ink contours looked smoother than the original raster edges.
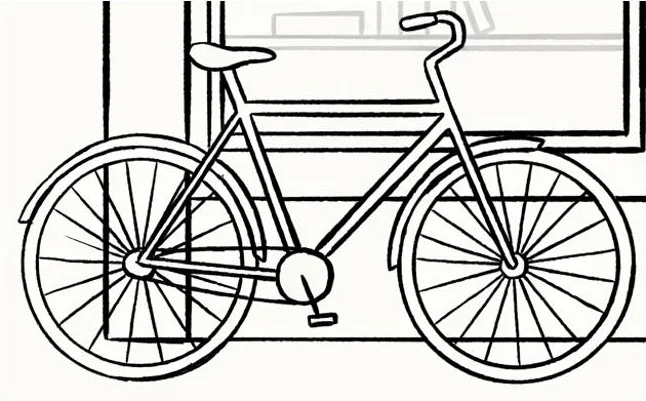
Bicycle spokes: PNG
Bicycle spokes: SVG
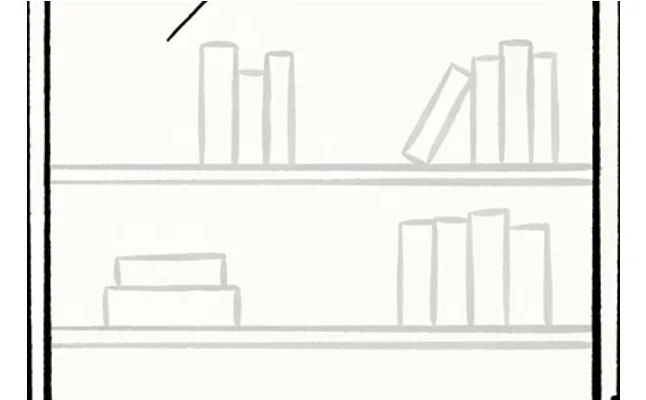
Faint book outlines: PNG
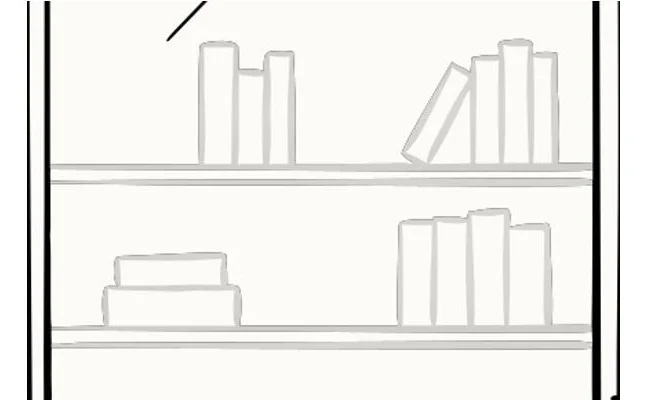
Faint book outlines: SVG
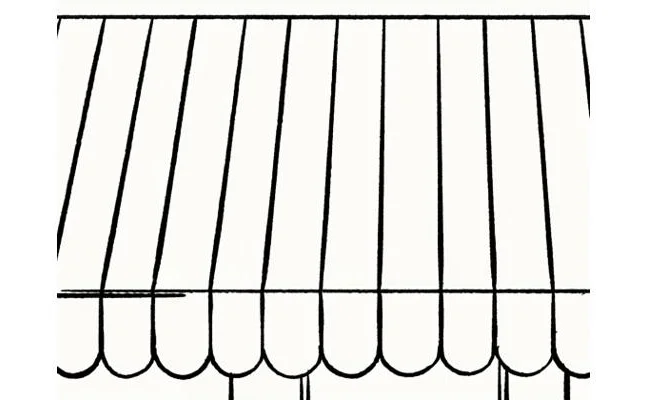
Striped canopy: PNG
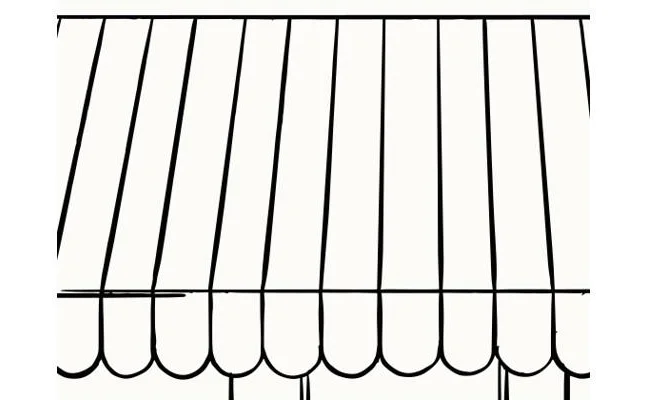
Striped canopy: SVG
After conversion : Fix the issue you see in the result
If a conversion needs another pass, start with the feature that changed.
| What you see | What to try next |
|---|---|
| Faint lines are missing | Use a clearer source, improve contrast, or try Detailed. |
| Too many tiny color regions | Remove unwanted source texture or try Simple. |
| Thin gaps have closed | Compare a larger, cleaner source; redraw critical contours if needed. |
| Several objects change color together | Review the shared palette; use a vector editor for object-specific changes. |
| A white area hides the background | Preview on a contrasting background and identify the white-filled shapes. |
| Lettering won’t accept a cursor | Rebuild changing wording as live text with the intended font. |
Transparency: White in the source may become a white vector fill. Before placing the artwork on a colored slide, label, or shirt, view it against that color. Remove the intended background without also removing white details inside the drawing.
Gradients and texture: A clean logo usually needs a different level of detail from a shaded illustration. If your delivery requires flat colors, replace shading fills during finishing. If texture defines the work, compare a close-up before simplifying it away.
Exact geometry: Automatic conversion can provide a starting point, but a precise letterform, mechanical dimension, or tightly controlled curve may call for manual redrawing.
After conversion : Prepare the SVG for the person using it next
For a palette revision, the Ideogram controls may be all you need. For moving a leaf, editing nodes, adding live text, or organizing related objects into groups, open the SVG in a vector editor that supports those tasks.
After saving in another application, reopen the final file and review its appearance. Check the details that matter at the intended size, including openings in letters, small gaps, and thin features.
Printing and cutting add their own requirements. Ask the printer for the delivery format, color profile, dimensions, and bleed. For cutting, review closed contours, duplicate lines, disconnected pieces, and the smallest features your material can support.
For repeated conversions in software, Ideogram also provides an asynchronous image-to-SVG API. It accepts JPEG, PNG, and WebP up to 50 MB.
Reference : Source-image prompts and settings
We created both sources with Ideogram 4.5, High, 2K (2048 × 2048), 1:1, one output, no references, and Magic Prompt off. Each generation button showed 10 credits. These prompts create the raster examples; conversion itself uses the uploaded image and detail setting.
Hotel illustration prompt
Create a refined editorial illustration of a Mediterranean boutique hotel entrance, viewed straight on. Center a tall arched doorway in a warm terracotta facade. Inside the arch, show a dark navy double door with two small brass-colored circular handles. Place three broad cream-colored steps beneath the doorway.
On the left, add one olive tree in a large ochre planter, with clearly separated clusters of dark green leaves. On the right, place a smaller terracotta pot holding three broad agave leaves. Above the entrance, include a narrow cream balcony with five evenly spaced dark navy vertical railings. Add a small circular ochre sun in the upper-right corner.
Use sophisticated geometric illustration, balanced asymmetry, crisp architectural edges, smooth botanical curves, and generous negative space. Keep the palette limited to terracotta, warm cream, dark navy, forest green, and golden ochre. Use flat, solid color fills on a plain white background. Keep the entire composition visible with generous margins.
No text, signage, gradients, shadows, textures, grain, photorealism, distressed effects, or mockup presentation.
Bookshop drawing prompt
Create an elegant black-ink architectural line drawing of a small independent bookshop, viewed straight on. Show a central doorway, one large display window on each side, a striped fabric awning, and a small hanging sign with no lettering. Place a bicycle beside the left window and a potted climbing plant beside the right window. Inside the windows, suggest books using a few clear rectangular outlines.
Use confident hand-drawn contours with slight natural variation in line weight. Keep the bicycle spokes, window frames, awning stripes, and plant leaves distinct, with enough space between neighboring lines. Black ink on a clean white background. Center the complete storefront with generous margins.
No text, letters, numbers, color, gray washes, shading, crosshatching, paper texture, shadows, perspective distortion, or mockup.
Reference : FAQs
Can I turn a PNG or JPG into an editable SVG?
Yes. Use image-to-vector conversion to create shapes from the source, then download the SVG. In our Ideogram tests, the hotel and bookshop exports contained 62 and 315 paths respectively, with no embedded raster images. Changing the filename extension alone won’t perform that conversion.
Can I edit the text after converting an image to SVG?
You can edit letter shapes if the lettering becomes paths, but retyping requires live text. Keep a text version of frequently changing wording in your working document. If you need to correct the source before converting it, see our guide to fixing text in images.
Will the SVG look exactly like my original image?
Vectorization rebuilds the source as shapes, so compare important details after conversion. In our hotel example, subtle tonal variation became smoother fills; in the bookshop, bicycle spokes and faint books remained visible. Use a close-up for detail and the intended display size for readability.
Can I convert an image to SVG for free in Ideogram?
Yes. Vectorizer works on the Free plan, and eligible Free accounts receive weekly credits. The bookshop conversion showed 10 credits with Detailed selected. Weekly credit allowances can vary. Our pricing page explains current access; Plus includes private generation and 2,400 monthly priority credits for $20 monthly or $180 billed annually.
Ready to convert your image?
Open Ideogram’s Vectorizer, upload your artwork, and download an SVG you can recolor.