
Best AI Background Changers for Product Photos (2026)

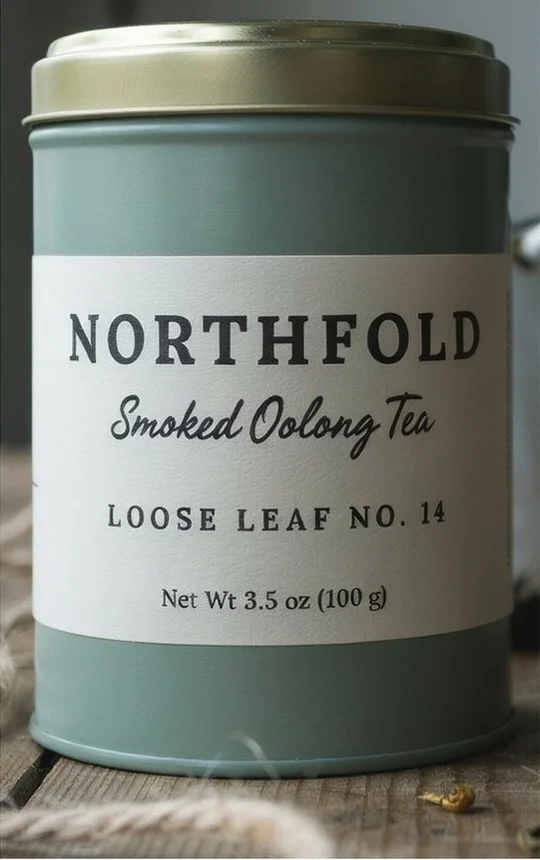
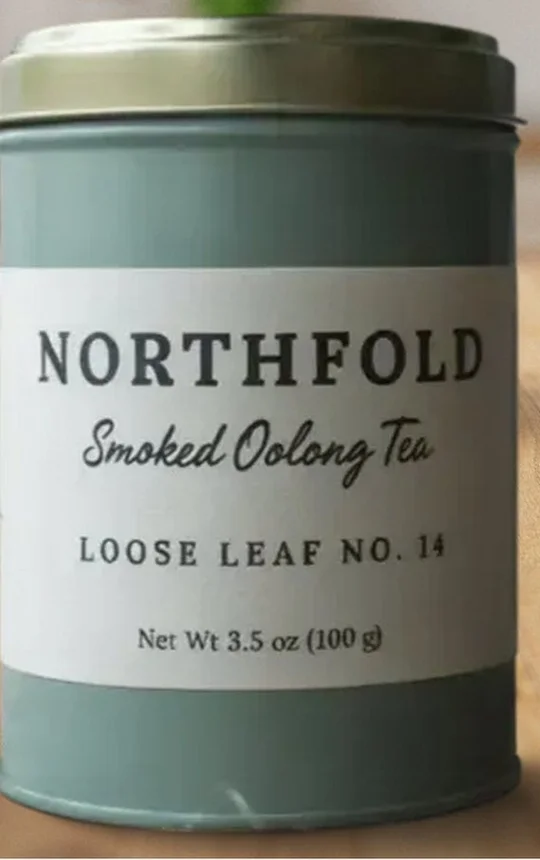
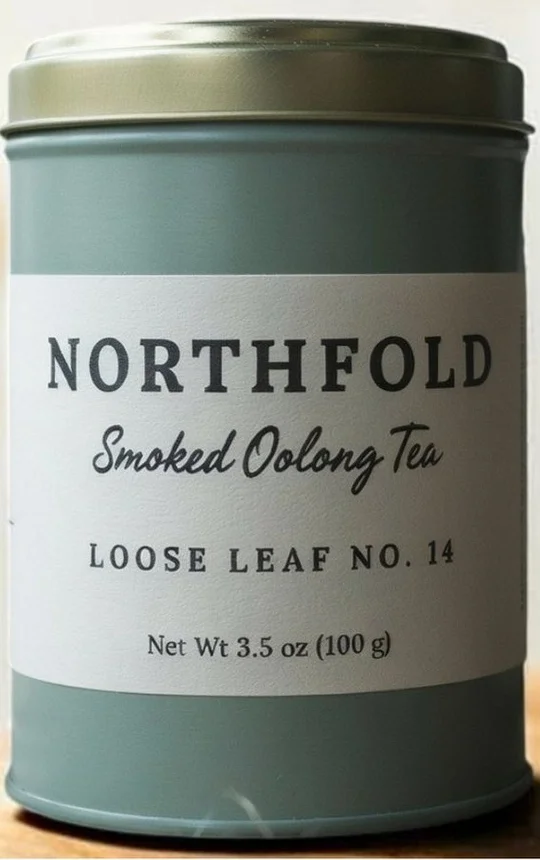
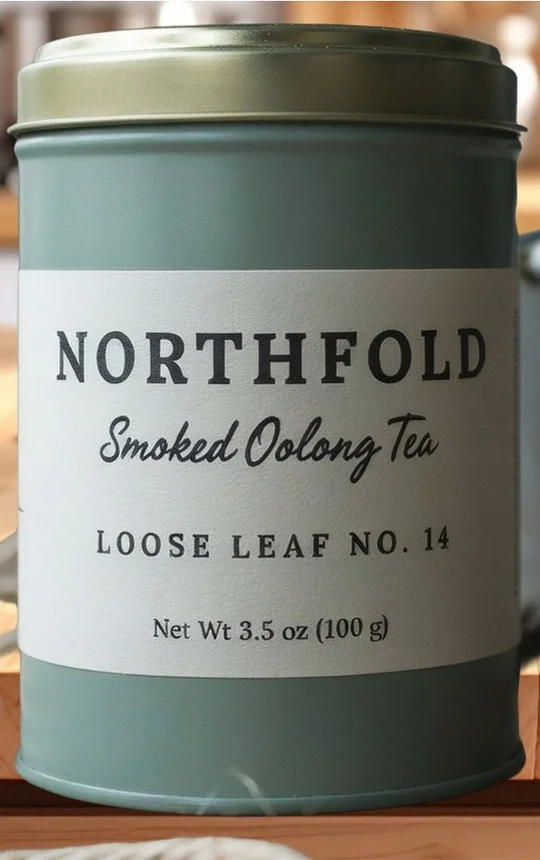
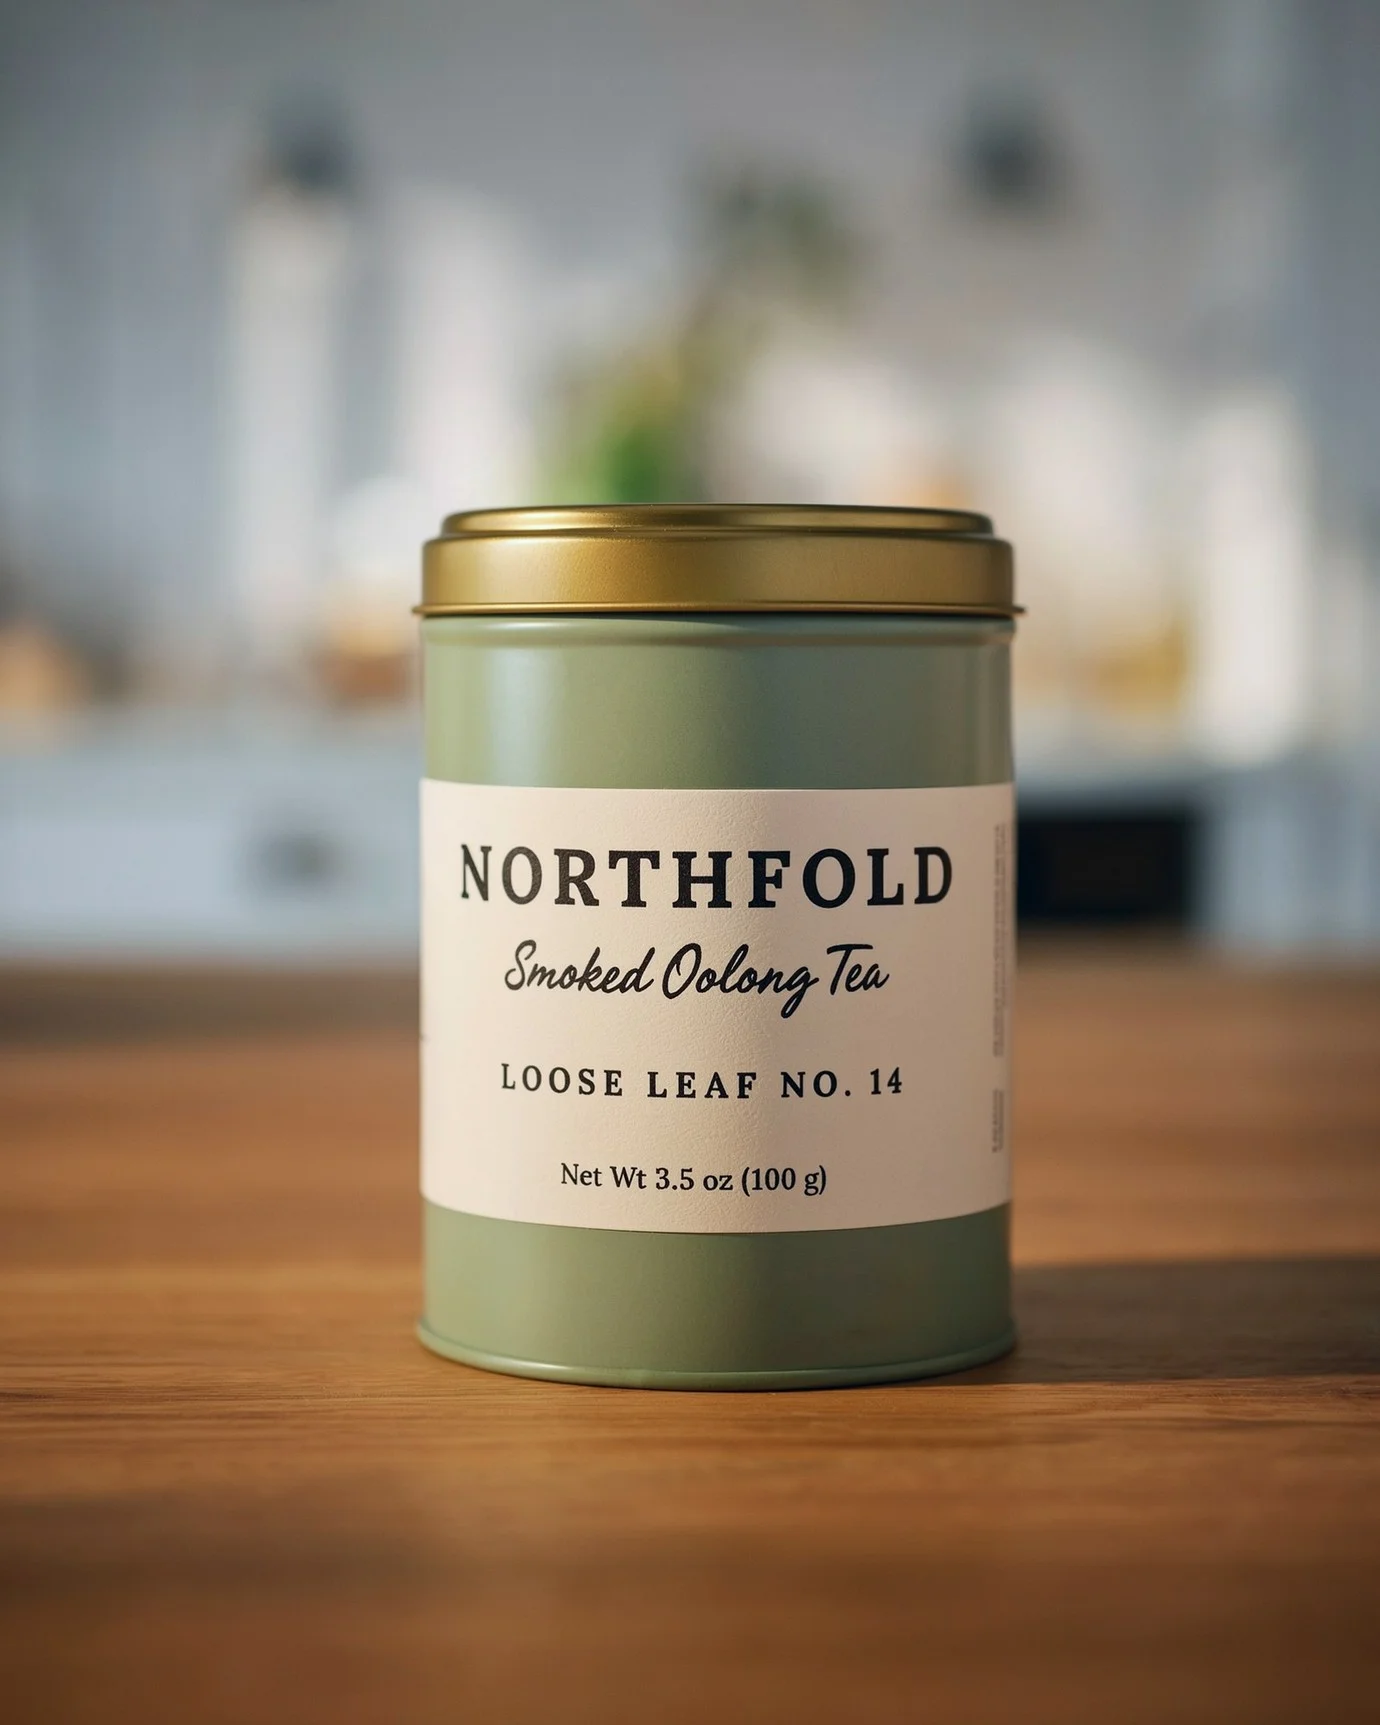
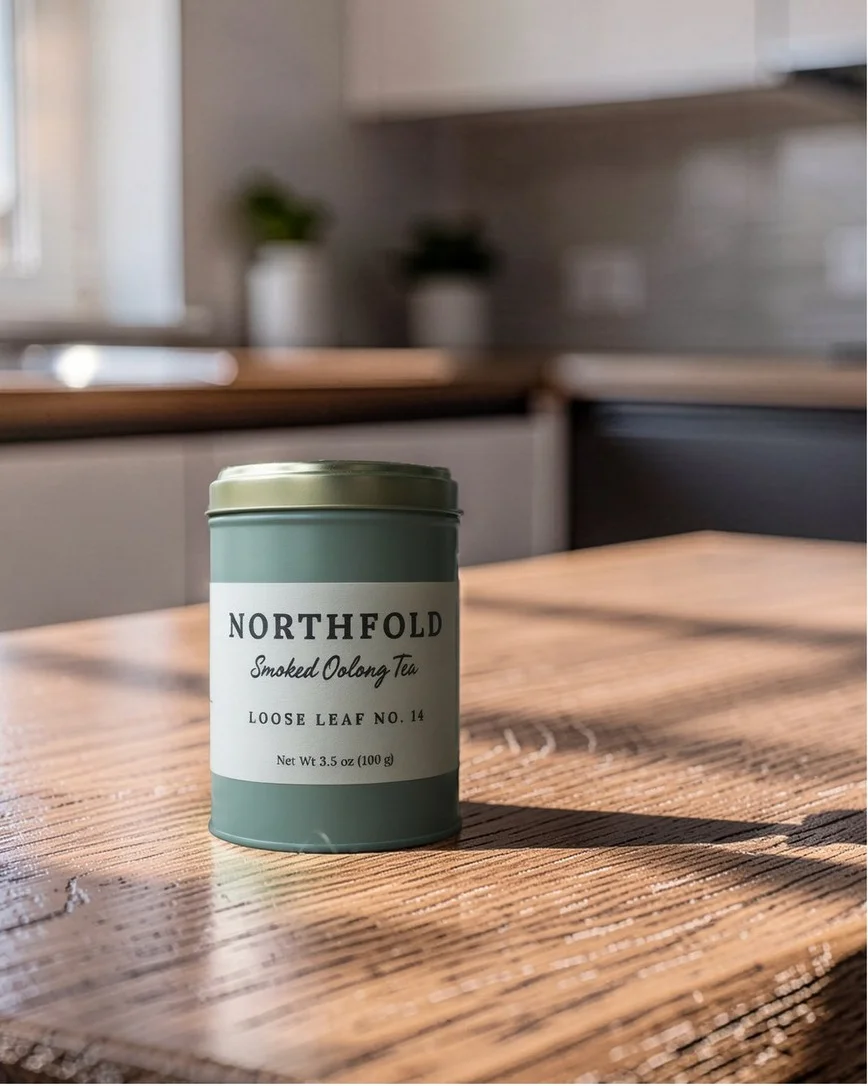
Four of the five AI background changers we tested returned our tea tin unchanged, label included, down to the “Net Wt 3.5 oz (100 g)” print. The fifth kept the label but redrew the tin. What separated the other four was everything around the product: leftover props, a white that is actually white and a shadow that grounds it.
Ideogram got all three right, and it was the only one to put the new scene into a glass bottle. We compare 8 tools and show which to use for a white listing image, a lifestyle scene or a whole catalog.
Key takeaways
- Best overall in our test: Ideogram was the only tool to deliver a clean cutout, a glass bottle that reflects the new scene and a pure 255 white with a soft shadow. It also has a prompt route for lifestyle shots.
- Tools that cut the product out keep the label exact: Ideogram, Photoroom, Adobe Express and Pixelcut returned all four label lines letter for letter. Claid’s AI Photoshoot rebuilds the whole image, and it enlarged the tin and redrew the lid rim.
- The cutout decides how clean the result is: Adobe Express kept the mug, dish and twine, and Photoroom left a speck beside the tin and eyeglass fragments above the mug. Ideogram’s mug cutout took nothing from the desk, and Pixelcut’s tea tin came back clean.
- For glass, a full prompt edit wins: Ideogram 4.5 put the new kitchen into the bottle itself. Photoroom and Pixelcut kept the green garden reflections from the original photo.
- For a marketplace main image, check two things before you upload: Look for pure white (Amazon asks for RGB 255, 255, 255) and a product that fills about 85% of the frame.
- Free options differ a lot: Ideogram’s free plan gives 30 credits a week, and our kitchen route used 17 credits on our Pro account. Pixelcut’s background tools used no credits. Canva’s background tools need Pro, and Pebblely has no free plan.
Overview : Which AI background changers keep your product unchanged?
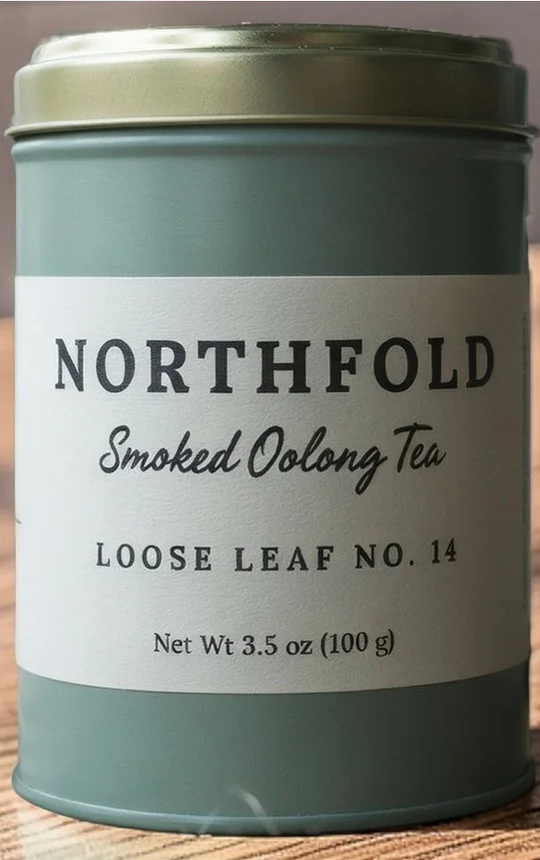
Ideogram, Photoroom, Adobe Express and Pixelcut all kept the tea tin’s label, color and shape exactly as they were, because each one cuts the product out and places it on a new background. Ideogram and Pixelcut were the only two that also gave a clean cutout, a real contact shadow and a white background in the same test.
AI background replacement comparison: which tools preserve the original product
| Tool | Tea tin label unchanged | Leftovers from the old photo | White background | Contact shadow |
|---|---|---|---|---|
| Ideogram | Yes, original pixels (cutout route) | One strand of twine touching the tin, trimmed in Studio; mug clean | 255, soft shadow | Yes |
| Photoroom | Yes | A speck by the tin; eyeglass fragments by the mug | Gray wall from the prompt | Yes |
| Adobe Express | Yes | Mug, dish and twine; desk items by the mug | 255, no shadow | No |
| Pixelcut | Yes | None | 255, AI shadow | Yes |
| Claid | Yes. The tin was enlarged and its lid rim was redrawn | None seen | About 254 | Yes |
How each tool changes the background, and what it costs
| Tool | Method | Free plan | Paid plans start at |
|---|---|---|---|
| Ideogram | Cutout on its own layer plus masked edits, or a full prompt edit | 30 credits a week; 1K PNG downloads | Plus, US$20 a month (US$15 billed yearly) |
| Photoroom | Cutout plus AI Backgrounds | About 8 AI background generations; Standard-size download | Pro, US$12.99 a month (US$7.50 billed yearly) |
| Adobe Express | Cutout over a separately generated image | Free daily generations | Premium |
| Pixelcut | Cutout plus AI background | Background tools used no credits; full-size download | Pro, US$10 a month (US$8 billed yearly) |
| Claid | AI Photoshoot rebuilds the scene | 50-credit trial | Monthly credit plans |
| Pebblely | Prompt-based generation (from its site) | None | Lite, US$9 a month |
| Canva | Background Generator (from its site) | Background tools need Pro | Pro, US$144 a year |
| Hold Frame | Upload and generate (from its site) | 1 result with a small watermark | 3 results for US$2.99 |
Original
Ideogram
Photoroom
Adobe Express
Pixelcut
Claid
Ideogram
Pixelcut
Adobe Express
Photoroom
Claid
Overview : How we tested: one tea tin, a glass bottle and a mug
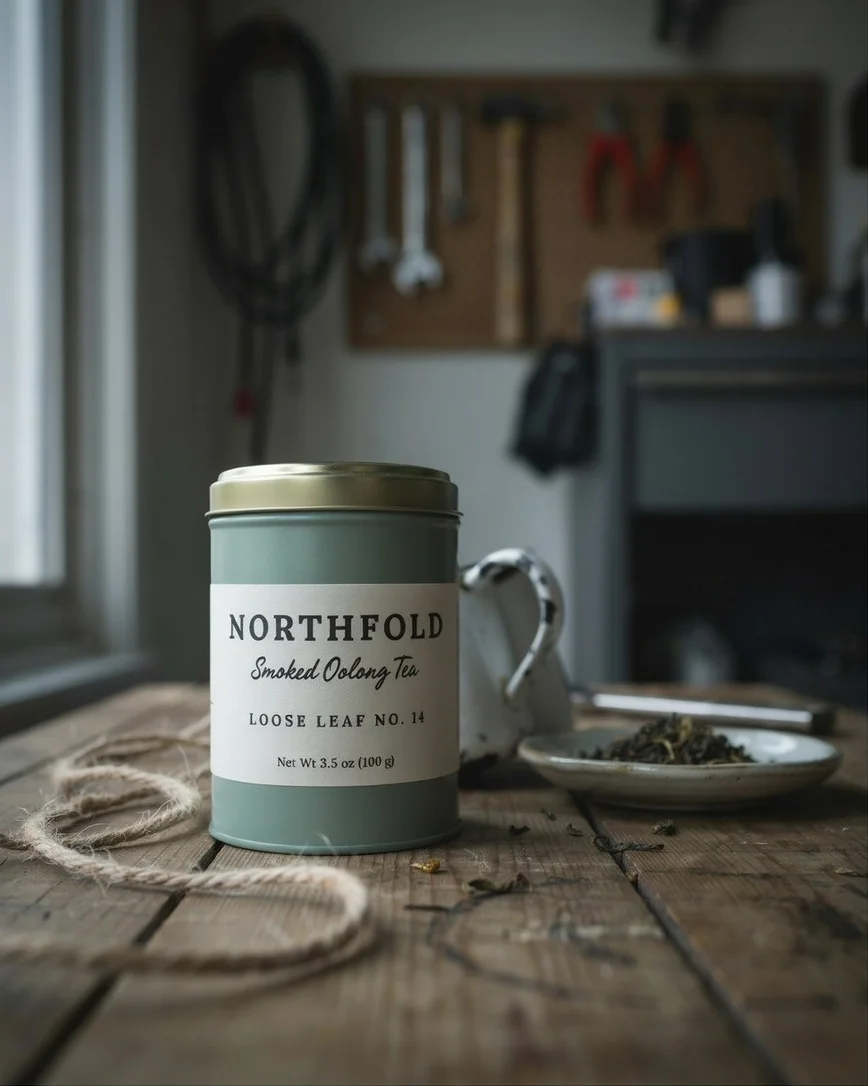
We generated three new product photos in Ideogram, each with a background a seller would want to replace:
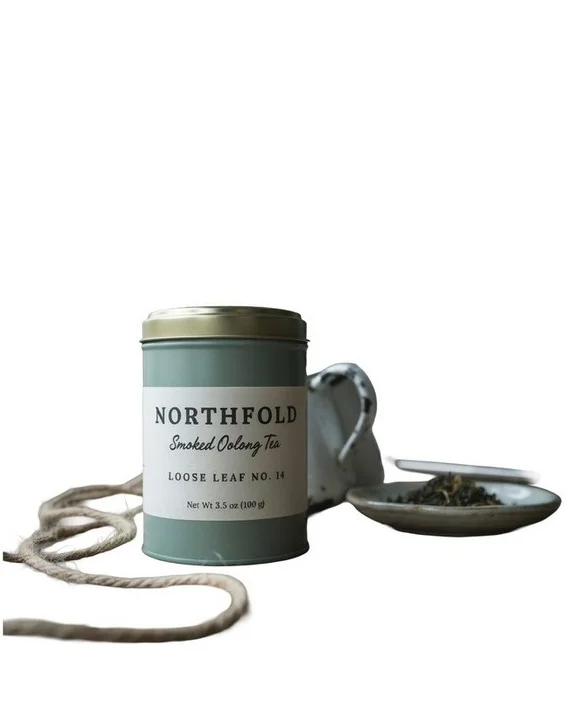
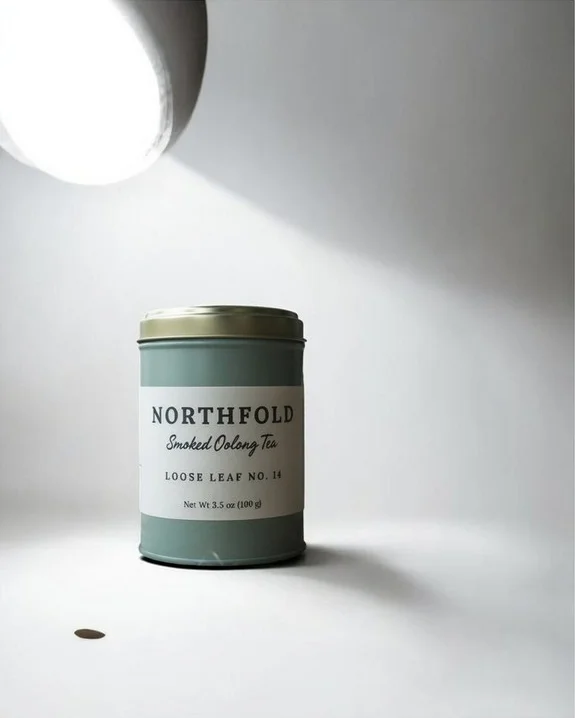
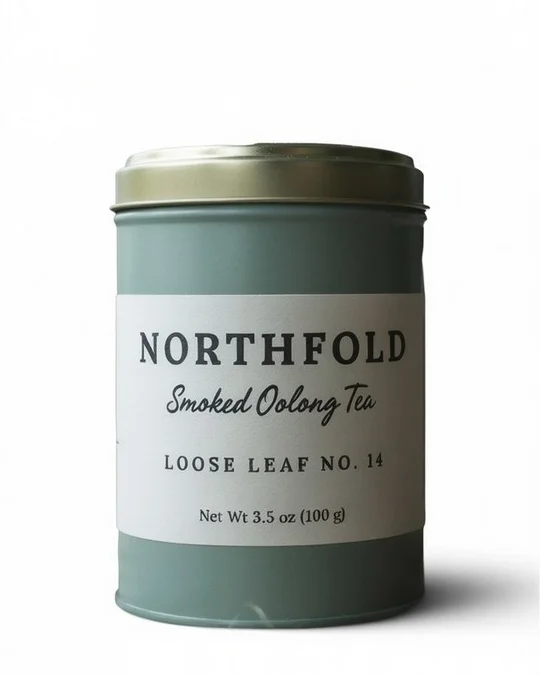
- A tea tin on a cluttered workbench: It has a four-line label that reads NORTHFOLD, Smoked Oolong Tea, LOOSE LEAF NO. 14 and a line of small print. A mug, a dish of tea and a loop of twine sit right next to it. This is the text and clean-cutout test.
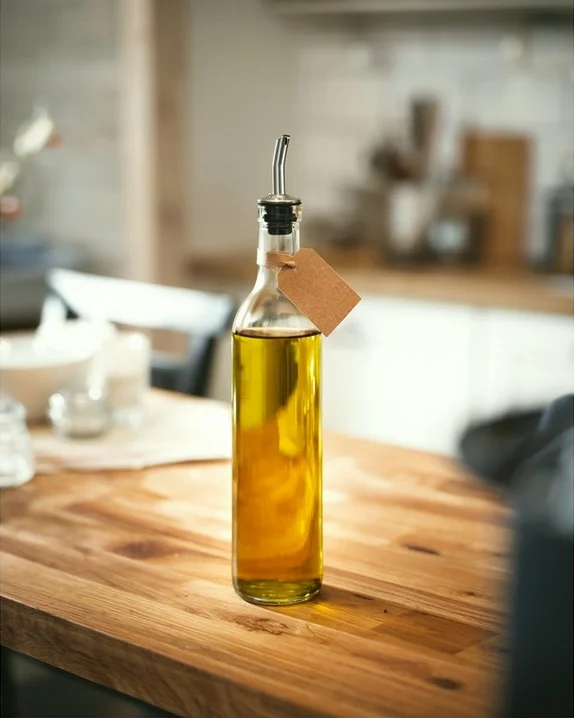
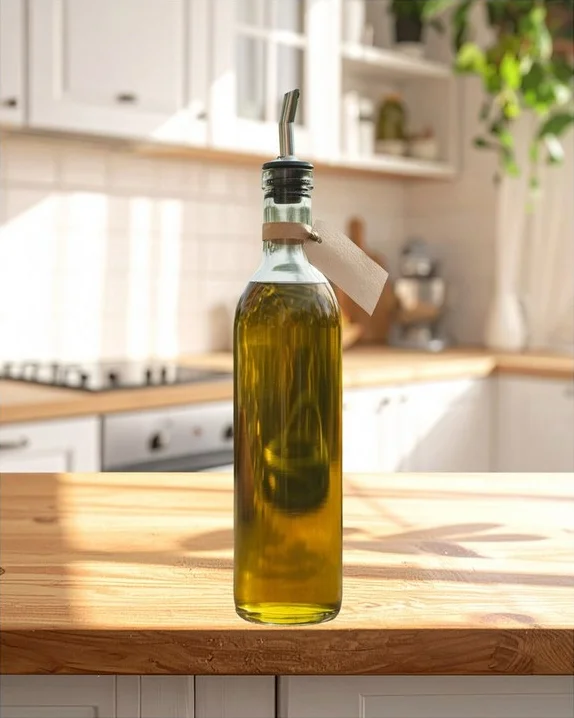
- A clear glass oil bottle outdoors: It has a metal pourer and a paper neck tag. Glass reflects the old scene, so it shows whether the new background reads through the bottle.
- A stoneware mug on a busy desk: Glasses, papers and a keyboard surround it.
Tea tin
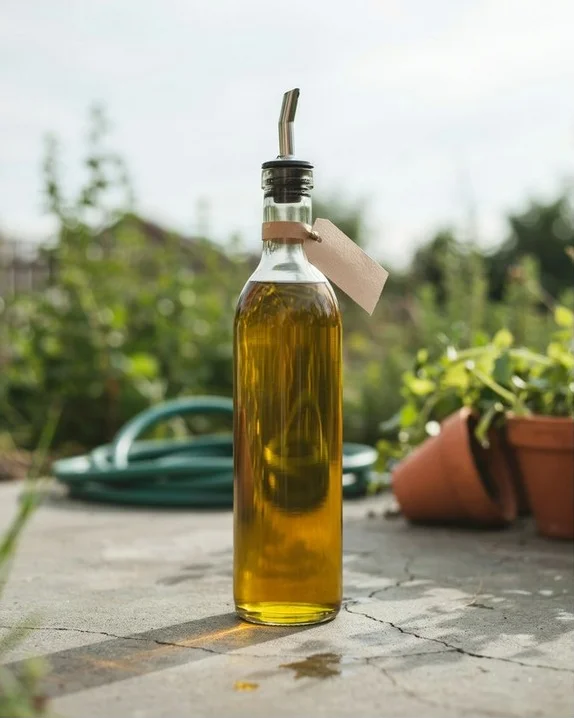
Glass oil bottle

Stoneware mug
Every tool that takes a prompt got the same two backgrounds, word for word:
- Kitchen: “on a warm wooden kitchen counter in soft morning light, blurred kitchen in the background, natural contact shadow”
- White: “plain pure white studio background with a soft natural contact shadow”
We counted a product as unchanged only if the label read letter for letter and the color, proportions and edges matched the original at full size. We also noted leftovers from the old photo, whether the shadow and light fit the new scene and what the free plan let us download. For the white backgrounds we measured the corner pixels, since marketplaces check for pure white. The other tools ran on their free plans. Ideogram ran on our Pro account, where the kitchen route used 17 credits and the white route 7. Every generation is a first try; where we cleaned up a result, like trimming twine or masking in a shadow, we say so. The checks follow our product image accuracy checklist.
The tea tin went through every tool we could test. The bottle and mug ran wherever the free plan allowed another upload.
Overview : Three ways AI changes a background, and what each does to your product
Cut out and place: The tool lifts the product off its photo and sets it on a new background. The product’s pixels are the originals, so the label can’t change. The risk is in the cutout: it can keep bits of the old scene, and the product can look pasted on without a shadow.
Edit with a mask: You mark an area and only that area is regenerated. Anything outside the mask, like your product, stays exactly as it was. This is how we added a shadow under the tea tin in Ideogram without touching the tin. Here’s how masks work in Precise Edit.
Rebuild the image: The tool redraws the whole picture from your photo and a prompt. It gives the most natural scenes, with light and reflections that match, but the product is redrawn too. Small text, lid rims and proportions are the first things to drift.
To tell which one a tool uses, check whether the product’s size and position stay fixed when the background changes. If the product moves or grows, the tool rebuilt the image. When the label has to stay exact, look for a background remover followed by a background step, or a mask.
Tool 1 : Ideogram: change the background and keep working on the same photo
Best for: sellers and marketers who need the product kept exact and a scene that looks photographed, not pasted, before they finish the image with text, color variants or ad sizes.
Ideogram gives you all three routes in one place. We used two of them: a cutout with masked edits for the listing images, and a full prompt edit for a lifestyle scene.
Keep the original product and swap what’s behind it
Background Remover took the mug and dish out of the tea tin photo in about 15 seconds for 1 credit, as a transparent PNG at the original 1792 × 2240. A strand of twine touching the base came with the tin, and we trimmed it off the layer in Studio. Props that touch the product often come along with it, so move them or erase them first with Object Remover.
On the mug, Background Remover took only the mug. The glasses, papers and keyboard that Photoroom and Adobe Express carried over all stayed behind.
Original
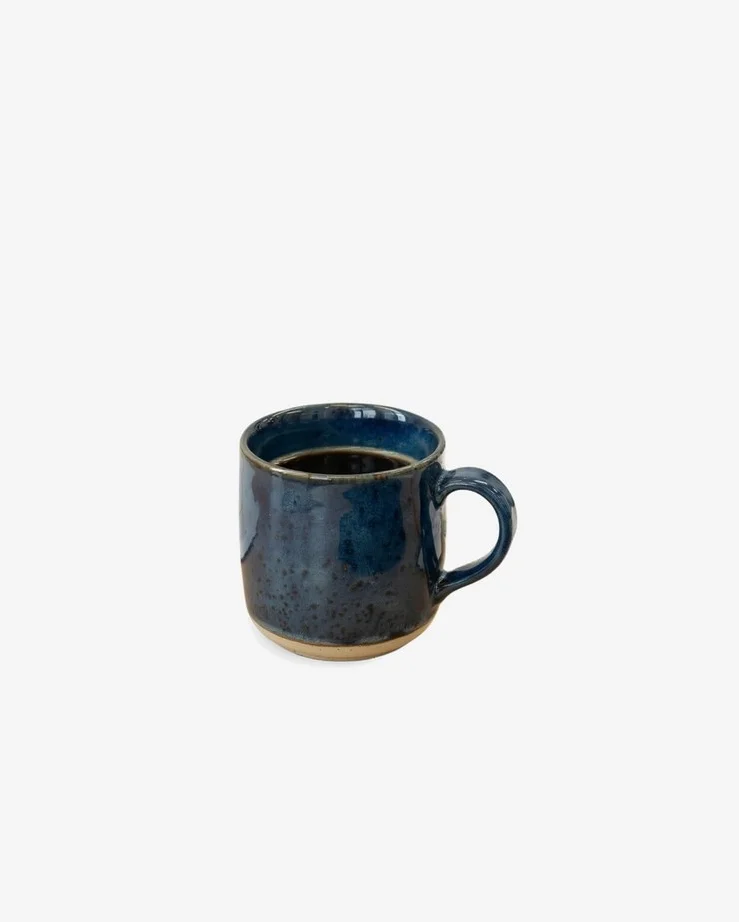
Ideogram cutout

Photoroom

Adobe Express
Next we generated an empty kitchen counter with Ideogram 4.5 using the same kitchen wording, then put the cutout on top of it in Studio. The docs walk through placing a cutout on a new background in Studio: upload the background, add the cutout from My Images, drag and resize it, then export.
Then came the step that most tools skip. A cutout on a new scene has no shadow, so it floats. We opened the composite in Precise Edit, drew a rectangle mask on the counter just under and to the right of the tin, and asked for “a soft natural contact shadow on the wooden counter where the tea tin stands, falling slightly to the right, matching the morning light from the left.” The tin was outside the mask, so it couldn’t change. The shadow landed where the light says it should.
Original photo
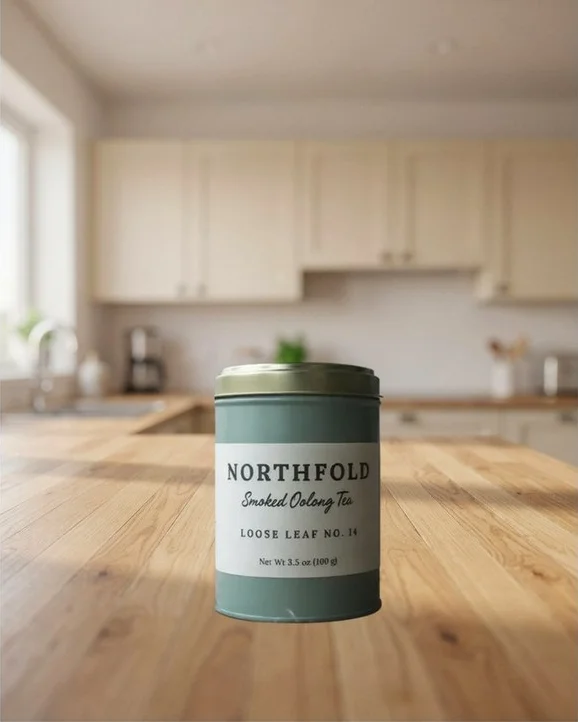
Cutout placed in Studio
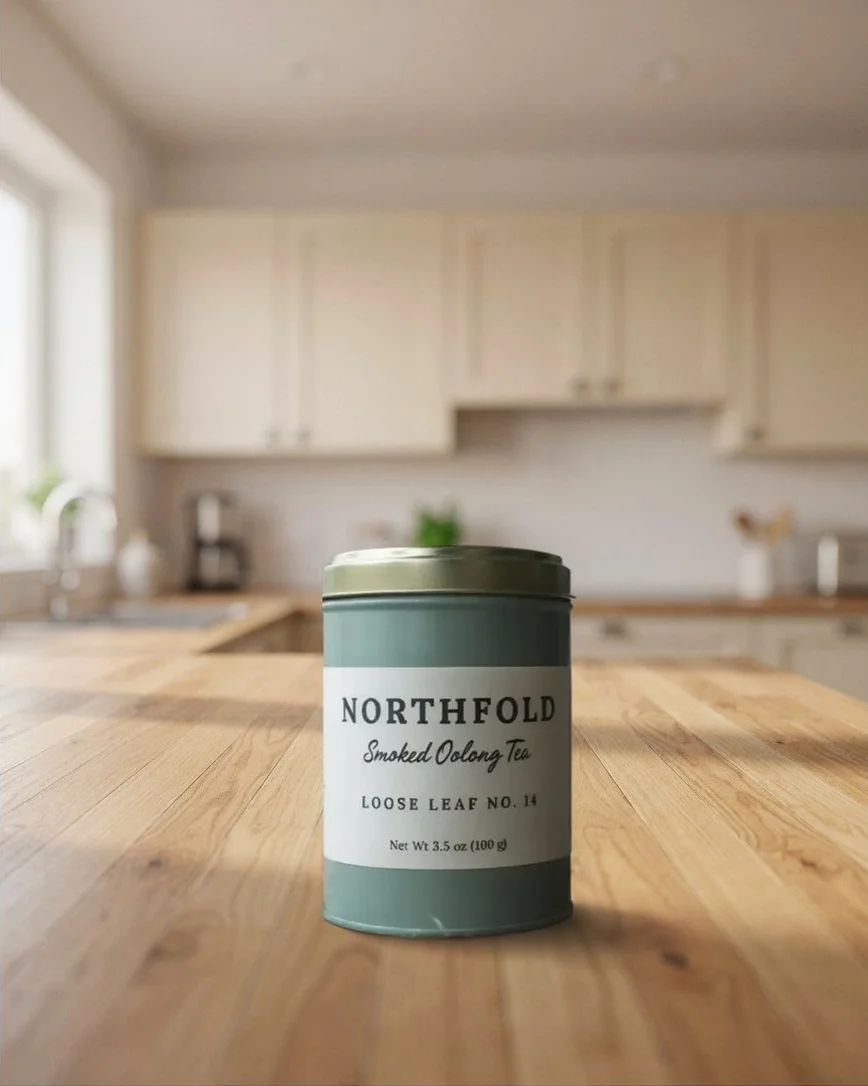
Masked contact shadow added
The whole kitchen route costs 17 credits: 1 for the cutout, 10 for the empty scene at High quality and 6 for the shadow edit at Medium.
Get a pure white background for a listing image
Studio starts from an image, so we uploaded a plain white PNG at the same size, 1792 × 2240, as the base layer. The tin cutout went on top, scaled to fill most of the frame height. In Precise Edit we masked only a strip under the tin and along its left edge, and asked for “pure white seamless studio background inside the mask, with a soft natural contact shadow directly under the tea tin’s base.”
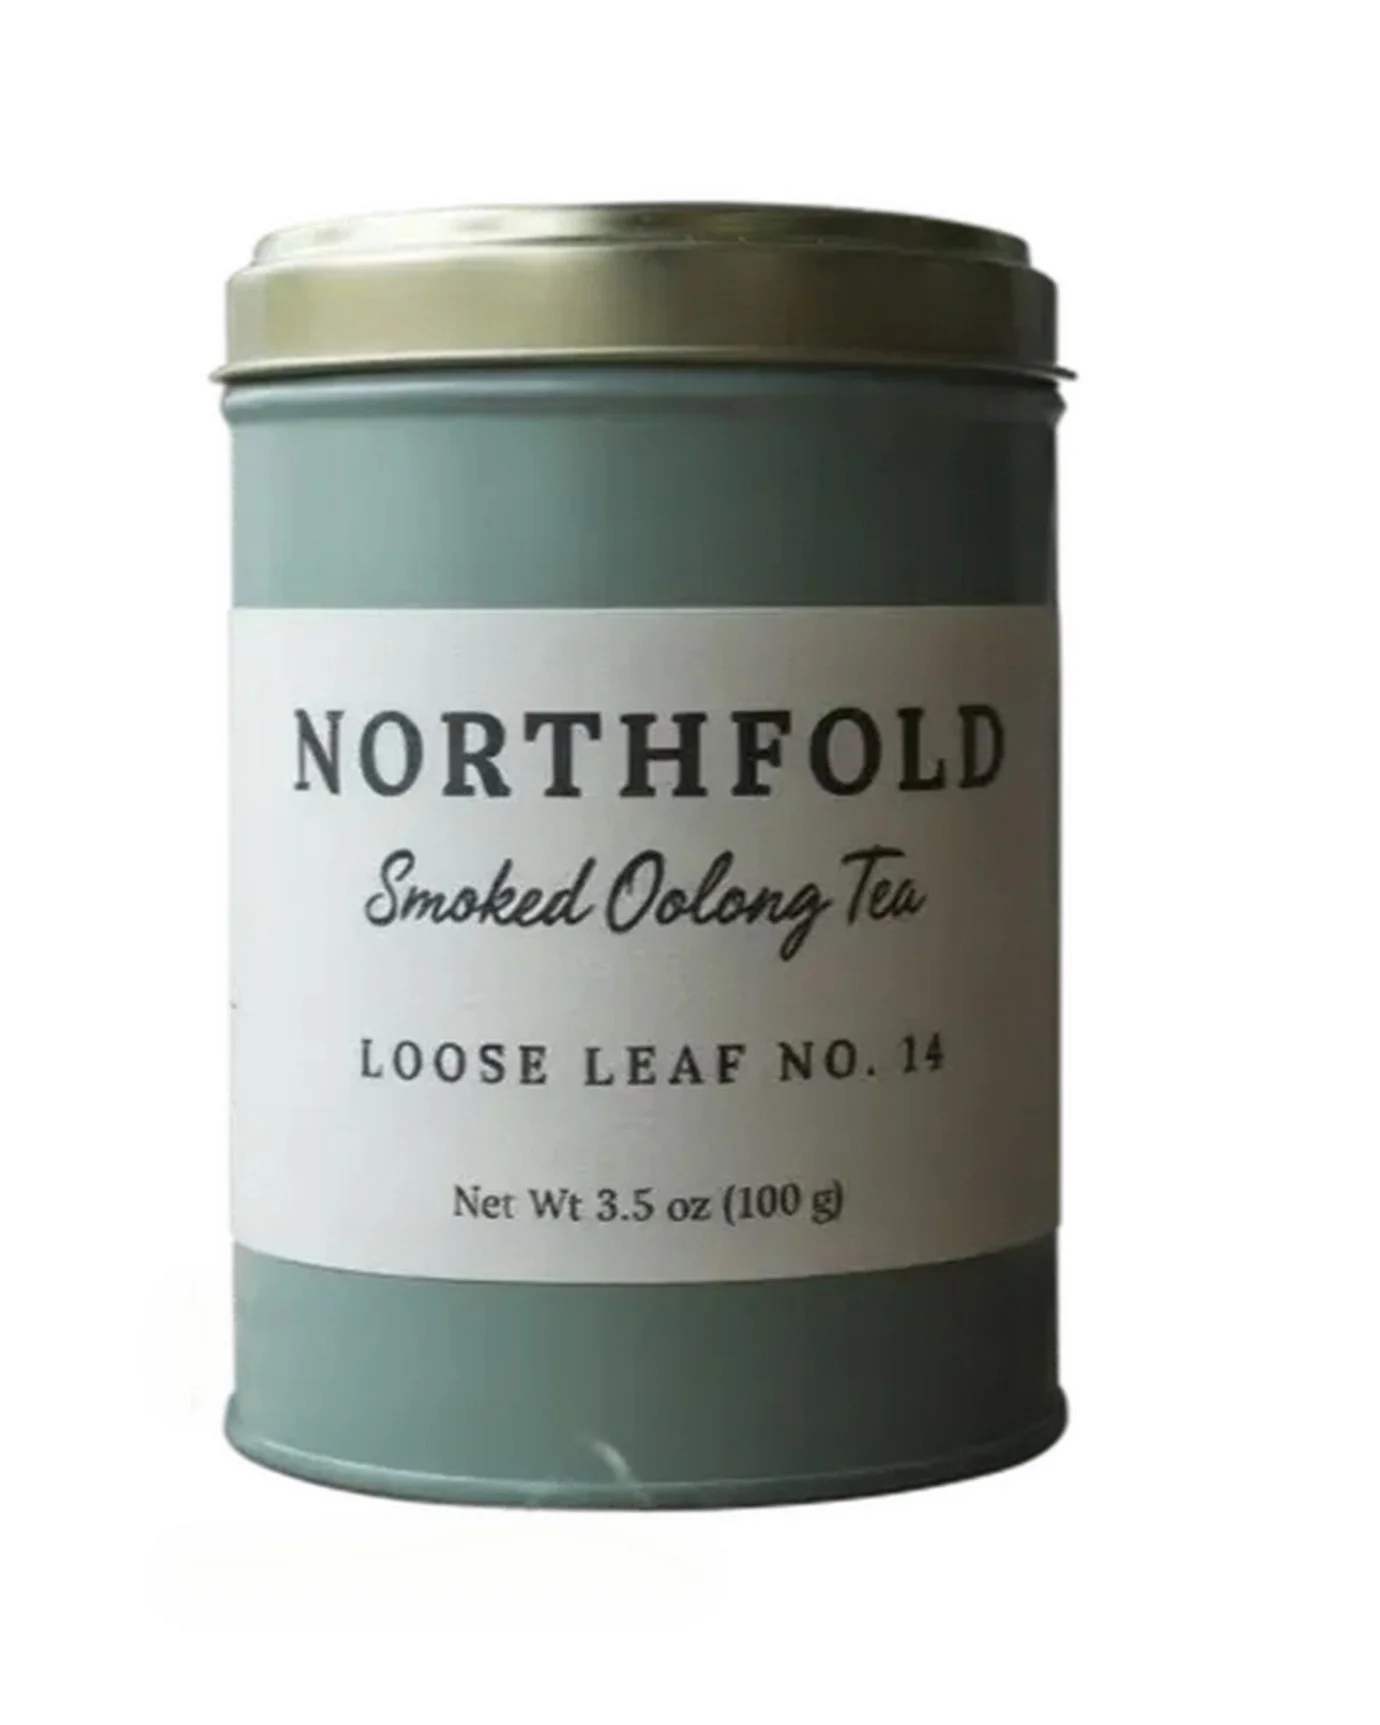
Every corner and edge measured 255, 255, 255. Outside the tin, 96% of the pixels are exactly 255; the rest is the soft shadow under the base. The tin itself matched the Studio export pixel for pixel, with a difference of 0.0, so the label is the original image data. The white version costs 7 credits: 1 for the cutout and 6 for the masked edit.
Tip: Amazon’s product image guide asks for main images on pure white, RGB 255, 255, 255, with the product filling 85% of the frame. Scale the cutout in Studio before you export, then read a corner pixel in any image editor to confirm.
Build the new scene with a prompt in Ideogram 4.5
When the shot is for an ad or a social post, not a listing, the prompt route gives a scene that looks photographed in one go. In Precise Edit with Ideogram 4.5, we asked it to replace the entire background with the kitchen scene, remove the clutter by name and keep the product “exactly as it is: shape, color, brass lid and every line of label text.”
All four label lines on the tea tin read correctly, and the mug, twine and workbench were gone. Because the whole image is rebuilt, framing and color can shift slightly; our tin came back a little larger and more olive. On the glass bottle, the new kitchen showed through the glass and oil, with warm light on the counter. A cutout carries whatever the glass reflected in the original photo: in Photoroom and Pixelcut, the bottle kept the green garden. Our guide to editing product photos with Ideogram 4.5 goes further into these prompts.
Original
Ideogram 4.5 prompt edit
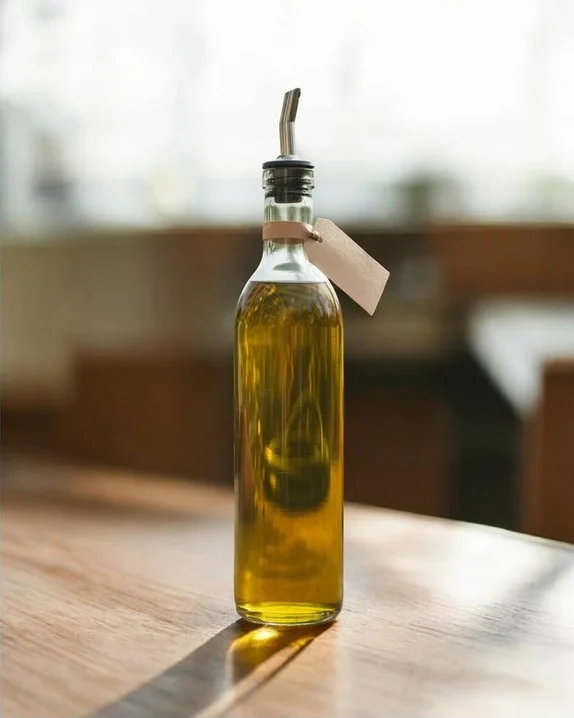
Photoroom
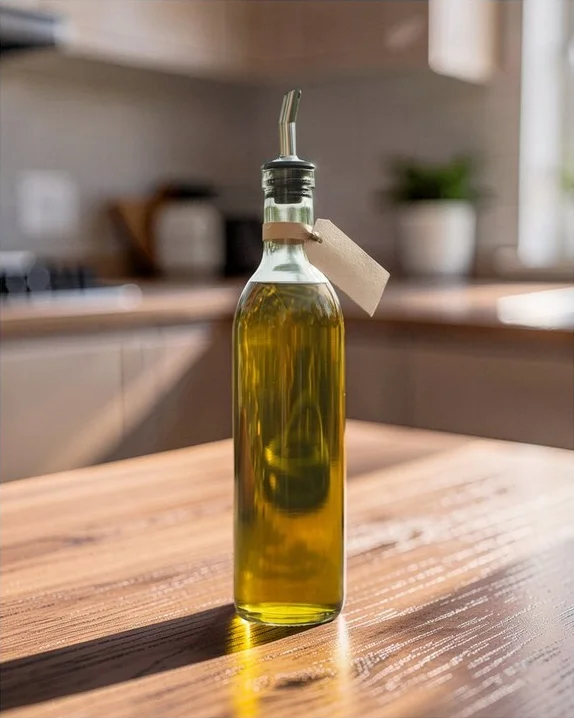
Pixelcut
Adobe Express
Tip: Name the fragile details in the prompt, such as each label line, the lid color and the pourer. Use this route for lifestyle and ad images, and the cutout route for the listing image.
Finish the image without leaving Ideogram
Once the background is right, the same file can keep going:
- Change a word on the label or the ad copy by fixing a word without recreating the image.
- Show the product in other colors with Colorways.
- Enlarge it for zoom on a product page with Ideogram Upscale.
- Resize the finished image for each placement with Ad Resizer.
- Run the same look across more products with Batch Generation.
Free plan and pricing: Free accounts that sign up with Google or Apple get 30 credits a week; the kitchen route used 17 credits on our Pro account. On the free plan, images are public and a 1K PNG download is free; 2K and private generations come with paid plans. Plus is US$20 a month (US$15 billed yearly) with 2,400 credits. See Ideogram plans and credits.
Tool 2 : Photoroom: fast cutouts and ready-made scenes for listings
Best for: sellers who want a quick background swap, especially on a phone.
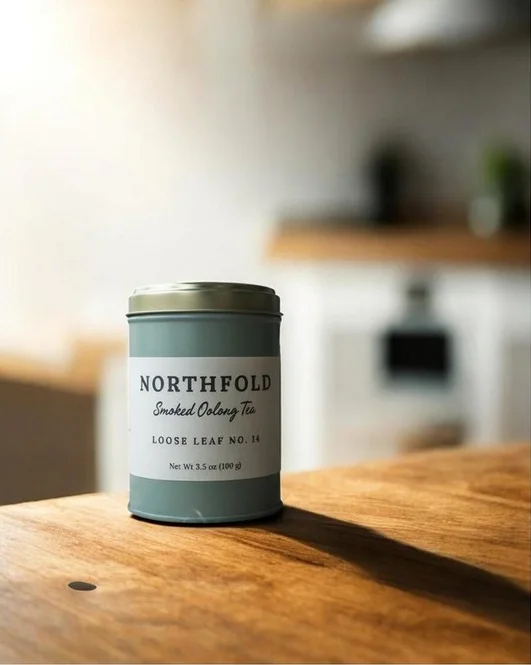
Photoroom’s cutout kept the tea tin label letter for letter. We used AI Backgrounds with our kitchen prompt and got a sunlit counter and a strong shadow on the first try. Two things needed a second look. A small dark speck from the old photo sat on the counter beside the tin, in both the kitchen and white runs. And on the mug, fragments of the eyeglasses from the desk stayed in the cutout and floated above the mug.
The glass bottle kept its outline, pourer and tag, but the glass still showed the green garden from the original photo, so it didn’t look like it was standing in a kitchen.
Our white run used the same AI Backgrounds prompt, and it came back as a gray studio wall with a lamp shape, not white.
Tip: For a listing image in Photoroom, use the solid white color background instead of a prompt.
Free plan: You get about eight AI background generations (the meter read 50% used after four). Free downloads are Standard size; full resolution needs Pro. Pro is US$12.99 a month, or US$7.50 a month billed yearly, with 8,000 AI credits and 1,000 exports a month.
If you’re weighing Photoroom against other tools for more than backgrounds, see our Photoroom alternatives for product photos.
Photoroom kitchen result
Leftover speck, close-up
Mug with leftover fragments
Tool 3 : Adobe Express: a background change inside a free design tool
Best for: people who will drop the product into a social post or flyer in the same editor.
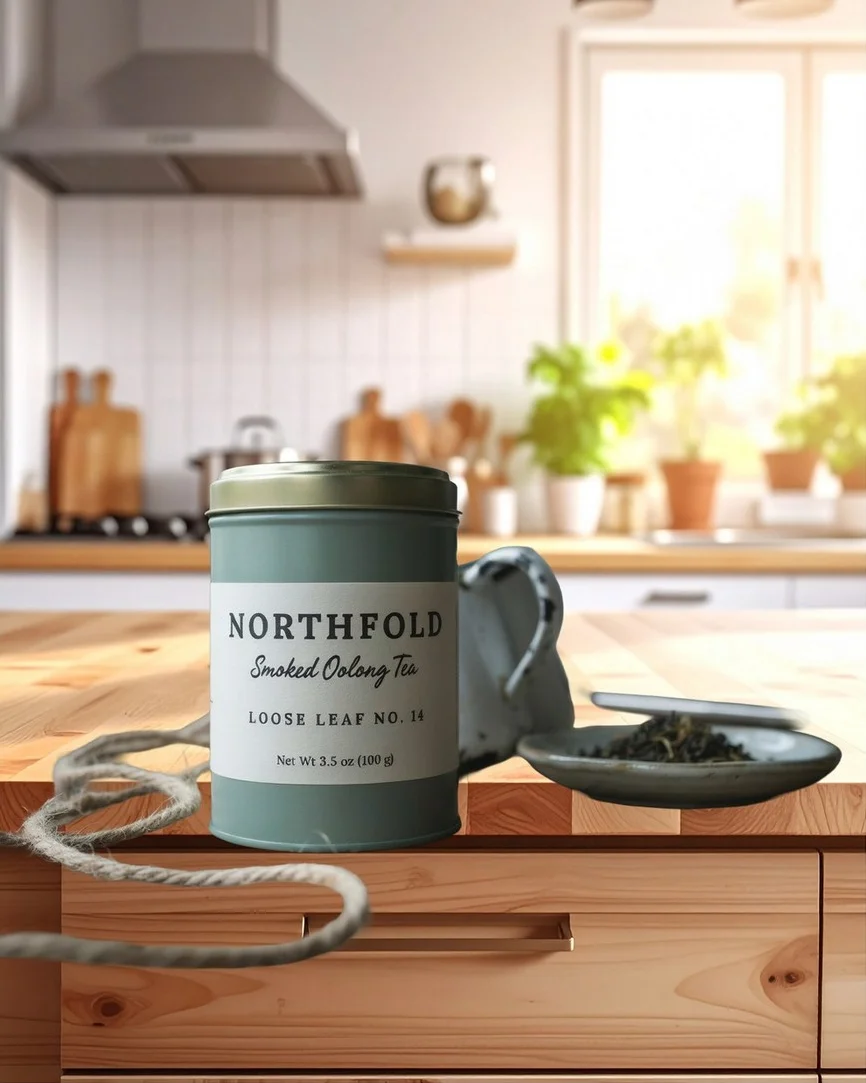
Adobe Express removes the background, and then you generate a separate image with Firefly and set it behind the product. The product itself stayed exactly as it was in all four runs, and the white run came out a flat 255.
The cutout was the problem. On the tea tin it kept the enamel mug, the dish of tea and the twine as part of the “product,” so they floated over the edge of the kitchen counter. On the mug it kept the desk lamp, a water bottle, glasses, papers and part of the keyboard. None of the results had a contact shadow, and the white version is a plain color fill with nothing under the product. The glass bottle came out best: clean edges and no garden reflections, though still no shadow.
Free plan: Each kitchen run used one free daily generation, and downloads were full size (1792 × 2240) with no watermark. Erase, Resize and the monthly generative credits are Premium. For manual masking, Photoshop is Adobe’s step up.
Tea tin
Mug
Tool 4 : Pebblely: lifestyle scenes from one product shot
Best for: sellers who want themed scenes for many products and are ready to pay from the start.
Pebblely asked for an upgrade before we could run a photo, so this entry comes from its own pages. Pebblely has rebuilt its product around one step: you upload the product and describe the scene, and it generates the photo, with no separate background-removal step. That puts it in the rebuild group, so check labels and small print on every result.
Pricing: The current pricing page has no free plan. Lite is US$9 a month for 30 images, Basic US$19 for 200 images with bulk generation, and Pro US$39 for 500 images. All plans include 40+ background themes and custom prompts.
Tool 5 : Pixelcut: quick swaps to a color, an image or a generated scene
Best for: sellers who want a clean cutout and a grounded shadow with almost no setup.
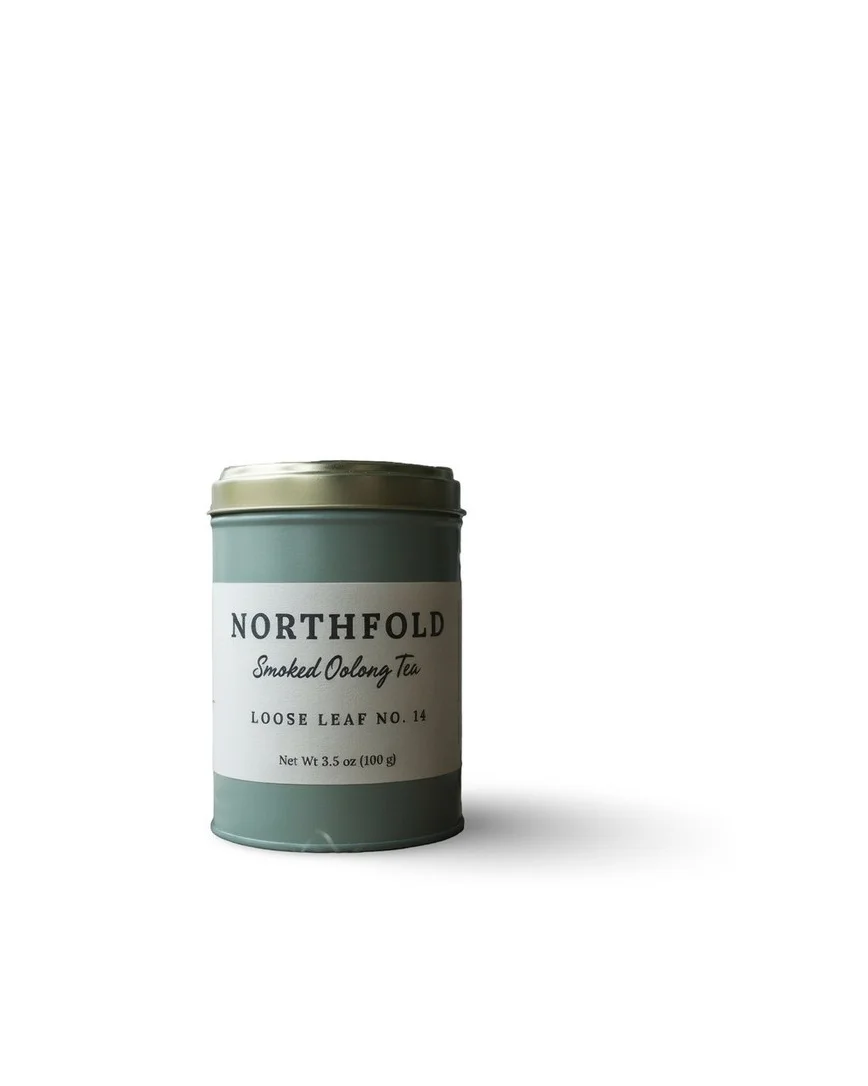
Pixelcut matched the strongest results in our test on the tea tin. Remove background took the tin cleanly off the workbench, with the mug, dish and twine all gone. The AI background with our kitchen prompt gave a sunlit counter with a believable shadow, and the label was untouched. For white, we chose the white color swatch and added Pixelcut’s AI shadow (Natural): corners measured a flat 255, with a soft shadow under the tin.
The glass bottle came out clean around the edges, but, as with Photoroom, the glass kept the green tint of its original garden.
Tip: Pixelcut keeps the product where it sat in the original frame. Our tin came out small and off-center on white, so crop or reposition before you upload to a marketplace.
Free plan: Background removal, AI backgrounds and AI shadows did not reduce our 58 free credits, and downloads were full size (1792 × 2240) with no watermark. Pixelcut’s free plan lists limited background removal and exports without a watermark. Pro is US$10 a month, or US$8 a month billed yearly, with 600 AI credits, unlimited background removal and a commercial license.
Kitchen
White with AI shadow
Tool 6 : Canva: change the background, then build the ad around it
Best for: teams already designing in Canva who are on, or ready for, a Pro plan.
On a free Canva account we couldn’t change a background. Background Generator, Background Remover, Magic Edit and Magic Eraser all carry the Pro crown, and Canva’s assistant said the task needed a premium feature. So this entry comes from Canva’s own pages.
Canva lists the Photo Background Remover and Photo Background Generator as paid features. Pro is US$144 a year for one person, and the free trial in our account was 30 days, then US$18 a month. Canva Pro Lite, a cheaper plan, includes Background Remover but not the full AI tools. Some third-party apps in Canva’s marketplace offer background replacement on any plan.
Tool 7 : Claid: one background style across a product catalog
Best for: catalog teams who want a consistent AI-generated look across many SKUs.
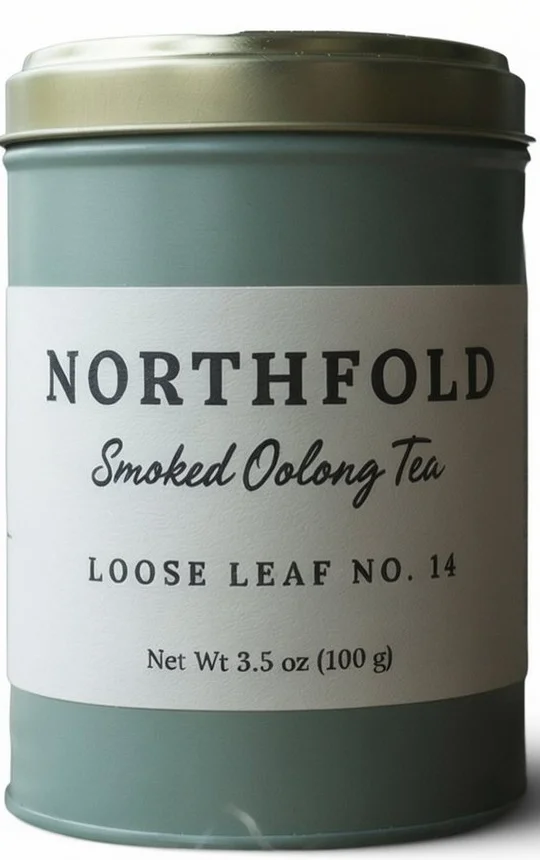
Claid’s AI Photoshoot builds the scene and the product together. The label on our tea tin read correctly in both runs, and the white background measured about 254 at the corners. But the tin came back larger in frame and the lid rim was slightly redrawn, which places Claid in the rebuild group. Files came out at 1152 × 1536, smaller than our source.
Free trial: The trial gives 50 credits. AI Photoshoot costs 4 credits per generation, background removal 1 and AI Shadows 2. Claid’s help center says the trial allows five uploads; ours stopped at one, so we ran the tea tin only.
For more tools aimed at large product ranges, see our list of AI product photography tools for large catalogs.
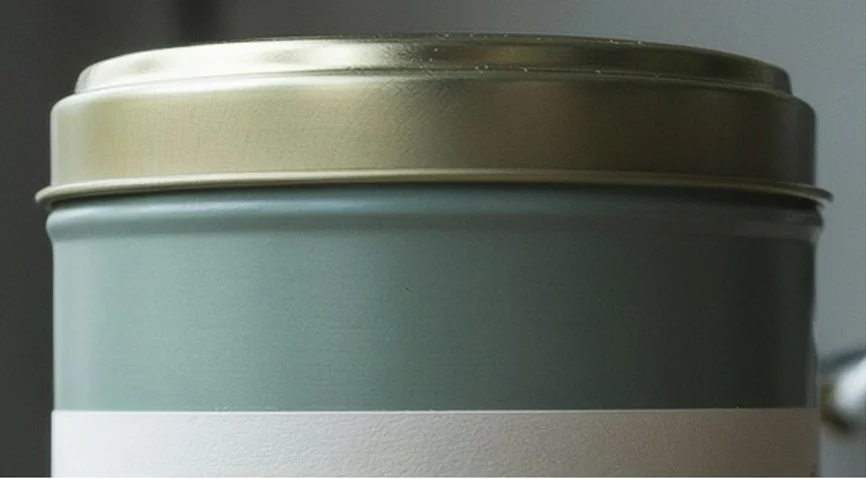
Original lid
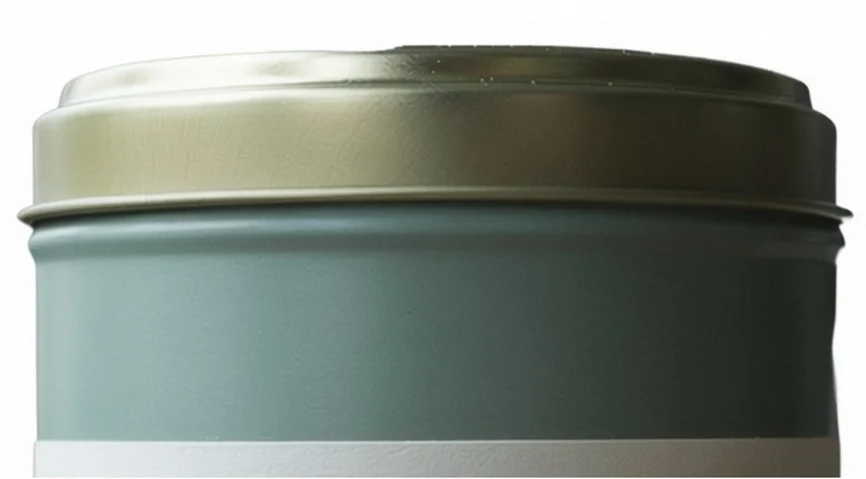
Claid lid
Tool 8 : Hold Frame: a tool built around keeping product pixels locked
Best for: sellers who need one or two images and don’t want a subscription.
Hold Frame says it keeps the product’s pixels locked while the scene changes. Its site offers one free result with a small watermark, then 3 results for US$2.99 or 10 for US$6, with no subscription.
Reference : How to change a product photo background without changing the product
- Start from a sharp photo: Clear edges and a readable label make a cleaner cutout. Move props away from the product, or erase them first with Object Remover, since most cutouts treat touching objects as part of the product.
- Cut out the product: Use a background remover and zoom into the result. Look for leftover bits of the old scene, like our twine and Photoroom’s speck. Our guide to free background removers compares the options.
- Choose the new background: Use a white layer for a listing image, or a generated empty scene for lifestyle shots. Describe the scene without the product in it.
- Ground the product: Add a contact shadow that falls away from the light in the scene. In Ideogram, a mask under the product lets you add it without touching the product.
- Check before you export: Compare the label, logo and edges with the original at full size, and read a corner pixel if the image is for a marketplace.
Before
After, in Ideogram
Reference : Which background changer should you use for your product photos?
- A white main image for a marketplace: Use Ideogram (cutout on a white layer in Studio, then a masked shadow; corners measured 255) or Pixelcut (white swatch plus AI shadow). Both kept the label exact. In Photoroom, use the solid white color, not a prompt.
- A lifestyle scene for ads and social: Use Ideogram, either the cutout with a masked shadow when the label must stay pixel-exact, or a 4.5 prompt edit when you want the light and reflections to match the scene.
- Glass, shine or fine edges: Ideogram’s 4.5 prompt edit put the new kitchen into the glass itself. Photoroom and Pixelcut kept the old garden reflections.
- Many products with one look: Use Ideogram Batch Generation, Claid or Pebblely. For the full set of images a product page needs, see building a full product page image set.
- A finished ad with text: Use Ideogram, so the same image goes on to text, Colorways and Ad Resizer.
Reference : FAQs about AI background changers for product photos
What is the best AI background changer for product photos?
In our test, Ideogram gave the most complete result: the original tea tin pixels, a mug cutout with nothing from the desk, a contact shadow and a clean white version, plus a prompt route for lifestyle scenes. Pixelcut was the closest match for quick listing images.
Will an AI background changer alter my product, logo or label?
It won’t if it cuts the product out and places it on a new background, since the product’s pixels are kept. Tools that rebuild the whole image, like Claid’s AI Photoshoot, can enlarge the product or redraw details such as a lid rim. Check labels at full size before you publish.
Will writing “do not change the product” in a prompt protect every detail?
No, it won’t protect every detail. It helps: in our Ideogram 4.5 prompt edit, all four label lines stayed correct. For pixel-exact results, use a cutout or keep the product outside a mask.
Is there a free AI background changer for product photos?
Yes, there is. Ideogram’s free plan gives 30 credits a week to accounts that sign up with Google or Apple; our cutout, new scene and shadow edit used 17 credits on our Pro account. Pixelcut’s background tools used none of our free credits, and Adobe Express gives free daily generations. Canva’s background tools need Pro, and Pebblely has no free plan.
How do I change a product photo background to white?
Cut the product out, place it on white and add a soft contact shadow. In Ideogram, place the Background Remover cutout on a white layer in Studio, then add the shadow with a mask under the product in Precise Edit. Everything outside the mask stays pure 255.
Try it on your own product photo
Start with Background Remover in Ideogram, then build the new scene around the cutout.